February 04, 2025

False eyelashes can elevate your look instantly, but with so many options now available, choosing the right one for you can be overwhelming. Should you go for DIY lash extensions, stick with classic strip lashes, try individual lashes, or experiment with the latest innovation—press-on lashes? Each option offers unique benefits, from long-lasting wear to quick and easy application, and now, with press-on lashes featuring pre-applied adhesive, achieving the perfect lash look has never been easier. Whether you're after a salon-quality effect without the high cost or a versatile option to switch up your style daily, it’s important to understand the differences. Your choice will depend on your lifestyle, skill level, and desired look. Let’s break it down and find out which option suits your beauty routine best!
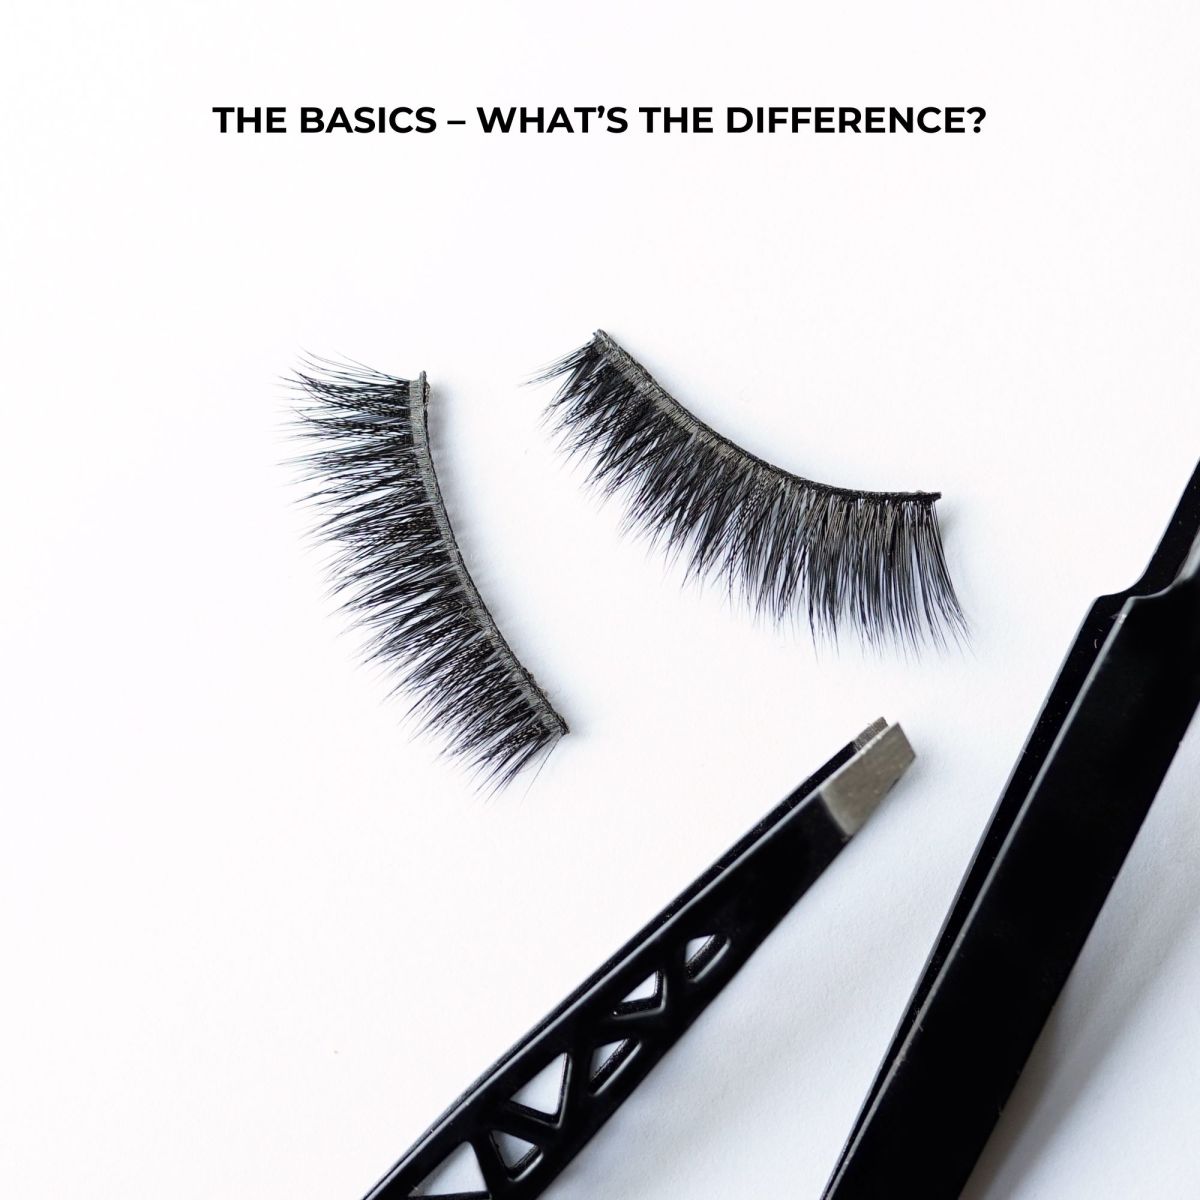
DIY Lash Extensions vs. Other Lashes: A Quick Comparison
|
DIY Lash Extensions ✅ Pros:
|
DIY Lash Extensions ❌ Cons:
|
|
Strip Lashes ✅ Pros:
|
Strip Lashes ❌ Cons:
|
|
Individual Lashes ✅ Pros:
|
Individual Lashes ❌ Cons:
|
|
Press-On Lashes ✅ Pros:
|
Press-On Lashes ❌ Cons:
|
If you're looking for a longer-lasting option without the hassle of salon visits, DIY lash extensions are a great choice. They offer a natural, seamless look and can be customised to suit your desired length and volume. However, they do require a bit of patience for application and proper removal to avoid damage.
For those who love switching up their style frequently, strip lashes provide the ultimate versatility. They are quick and easy to apply, reusable, and available in a wide range of styles, from subtle to dramatic. Plus, they are budget-friendly and don’t cause any damage to your natural lashes.
If you prefer full control over volume and placement, individual lashes allow for a fully customisable, natural look. They are lightweight and comfortable, perfect for subtle enhancements. However, they do require time, precision, and a strong adhesive for longevity.
For a fuss-free, beginner-friendly option, press-on lashes are an excellent choice. With pre-applied adhesive, they offer the quickest application with no mess or glue required. Plus, they’re handy to travel with!
Applying strip lashes is quick and straightforward, but to achieve a flawless finish, a bit of preparation goes a long way. Start by measuring the lash band against your eye to ensure it fits properly. If necessary, trim the edges for a perfect fit. Once you've shaped the strip, apply a thin layer of lash glue along the band, then wait around 30 seconds for the glue to become tacky before applying the strip to your lash line. Place the lashes as close to your natural lash line as possible and press down gently to secure them. To avoid any lifting at the edges, make sure the glue has dried fully before you touch them.
For care, always remove strip lashes carefully after use to preserve their shape and reusability. Gently peel them off, starting from the outer corner, and clean any remaining glue from the band with a cotton swab and makeup remover. Store your lashes in their original packaging to keep their shape intact and avoid excessive handling to prevent them from losing their durability.
Individual lashes require a little more time and effort for the perfect application, but the results are worth it for a custom, natural look. Begin by preparing your eyes—make sure your natural lashes are clean and free of any makeup. Using a pair of tweezers, pick up one lash at a time and dip it lightly into lash glue. Start by applying the individual lashes to the base of your natural lashes, working in small sections. You can adjust the placement for volume or length, depending on your desired outcome. Be patient and take your time—precision is key!
Once applied, avoid touching your lashes for a few minutes to allow the glue to fully dry. For removal, gently use an oil-based makeup remover or a lash-specific remover to dissolve the glue. Avoid pulling or tugging at the lashes to protect your natural lashes.
Press-on lashes offer an easy, quick way to enhance your look without the hassle of glue. To apply, start by picking up a cluster from the tray using a lash applicator. Be careful not to touch the pre-glued strip with the applicator to keep the adhesive intact. Once you have a cluster, position it underneath your natural lashes and adjust it to create your desired lash effect. To ensure a secure and long-lasting hold, gently press the clusters and your natural lashes together with the applicator. Repeat this process until you've achieved the fullness or style you're after.
When it’s time to remove the lashes, simply pull the clusters downwards to take them off. To keep them in good condition and ready for reuse, store the lashes in their original packaging, and you can wear them up to three times.
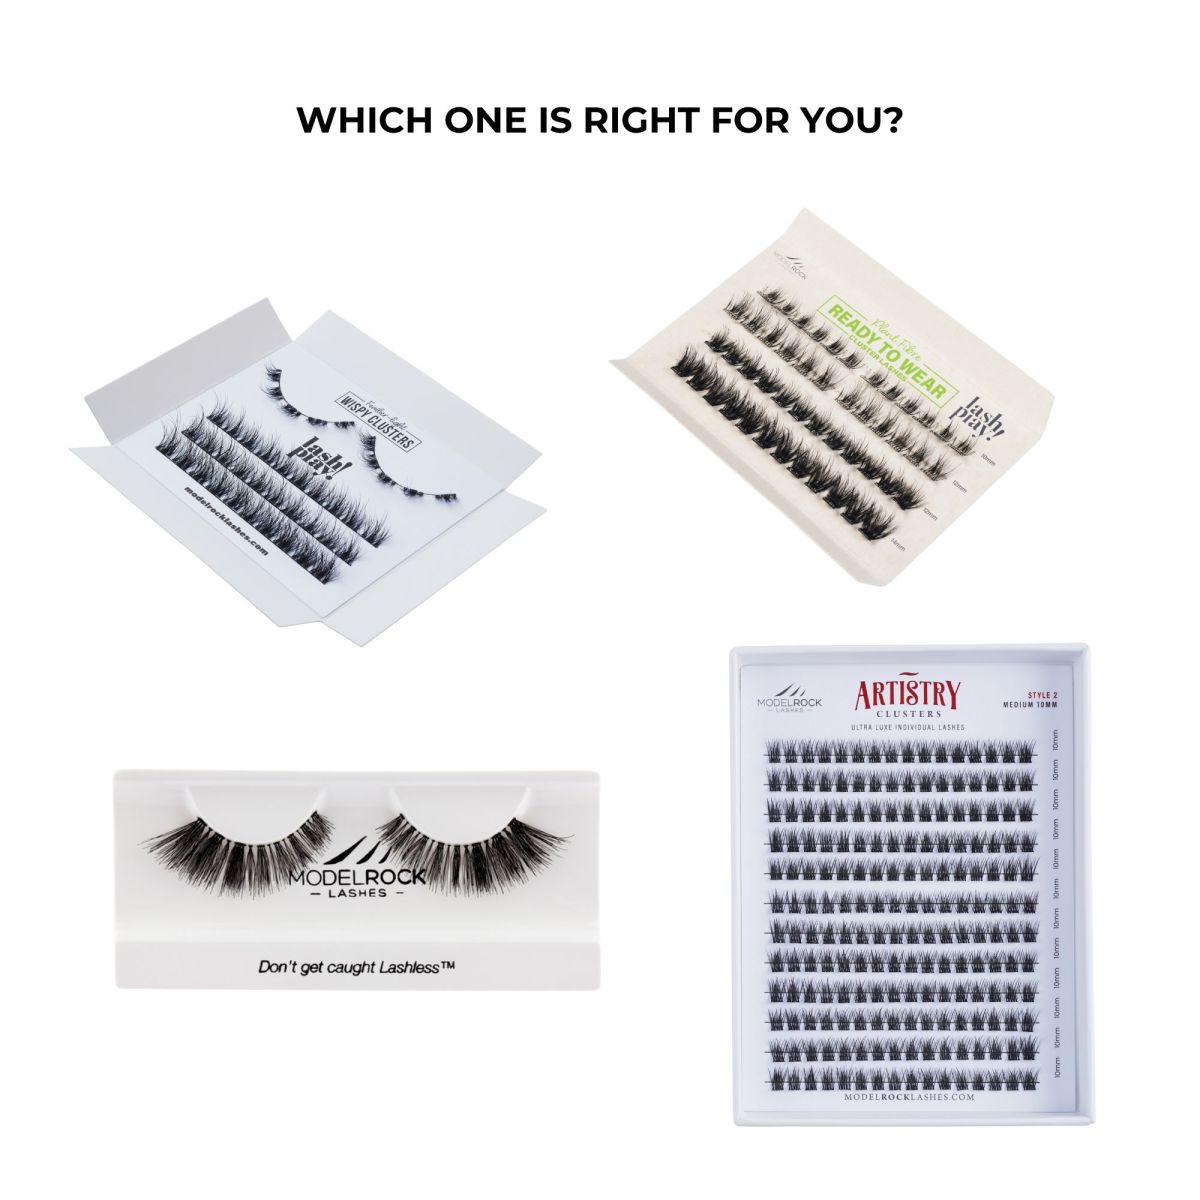
Choosing between DIY lash extensions, strip lashes, individual lashes, or press-on lashes ultimately comes down to your personal preferences, lifestyle, and the look you’re aiming for. Whether you’re looking for a longer-lasting, natural look with DIY extensions, a quick and easy glam with strip lashes, a custom enhancement with individual lashes, or a beginner-friendly option with press-on lashes, there’s a lash style to suit every need.
Ready to upgrade your lash game? Explore our massive Lash Collection and find the perfect pair to match your vibe!
.jpg)