Layering lashes is a game-changer for anyone seeking a bold, dramatic eye look. By stacking different types of eyelashes, you can achieve unparalleled volume, length, and intensity that single pairs just can't provide. Whether you're prepping for a special event or just want to amp up your daily glam, mastering the art of layering lashes will elevate your makeup game to new heights.
In this blog, we'll walk you through the essentials of layering lashes, from the basics to expert tips that will have you creating stunning lash looks in no time.
STEP-BY-STEP GUIDE TO LAYERING LASHES
Step 1: Choose Your Lashes
When layering lashes, selecting the right pairs is crucial. You'll need:
- A base lash: This should be a strip lash that will act as the foundation.
- A second layer: Choose a lighter, more wispy pair or clusters to add texture and length.
- Optional third layer: For an ultra-dramatic effect, add a third pair or clusters with unique features like extra length or colour accents.
Pro Tip: Look for lashes with different curl patterns and densities to create a multidimensional effect.

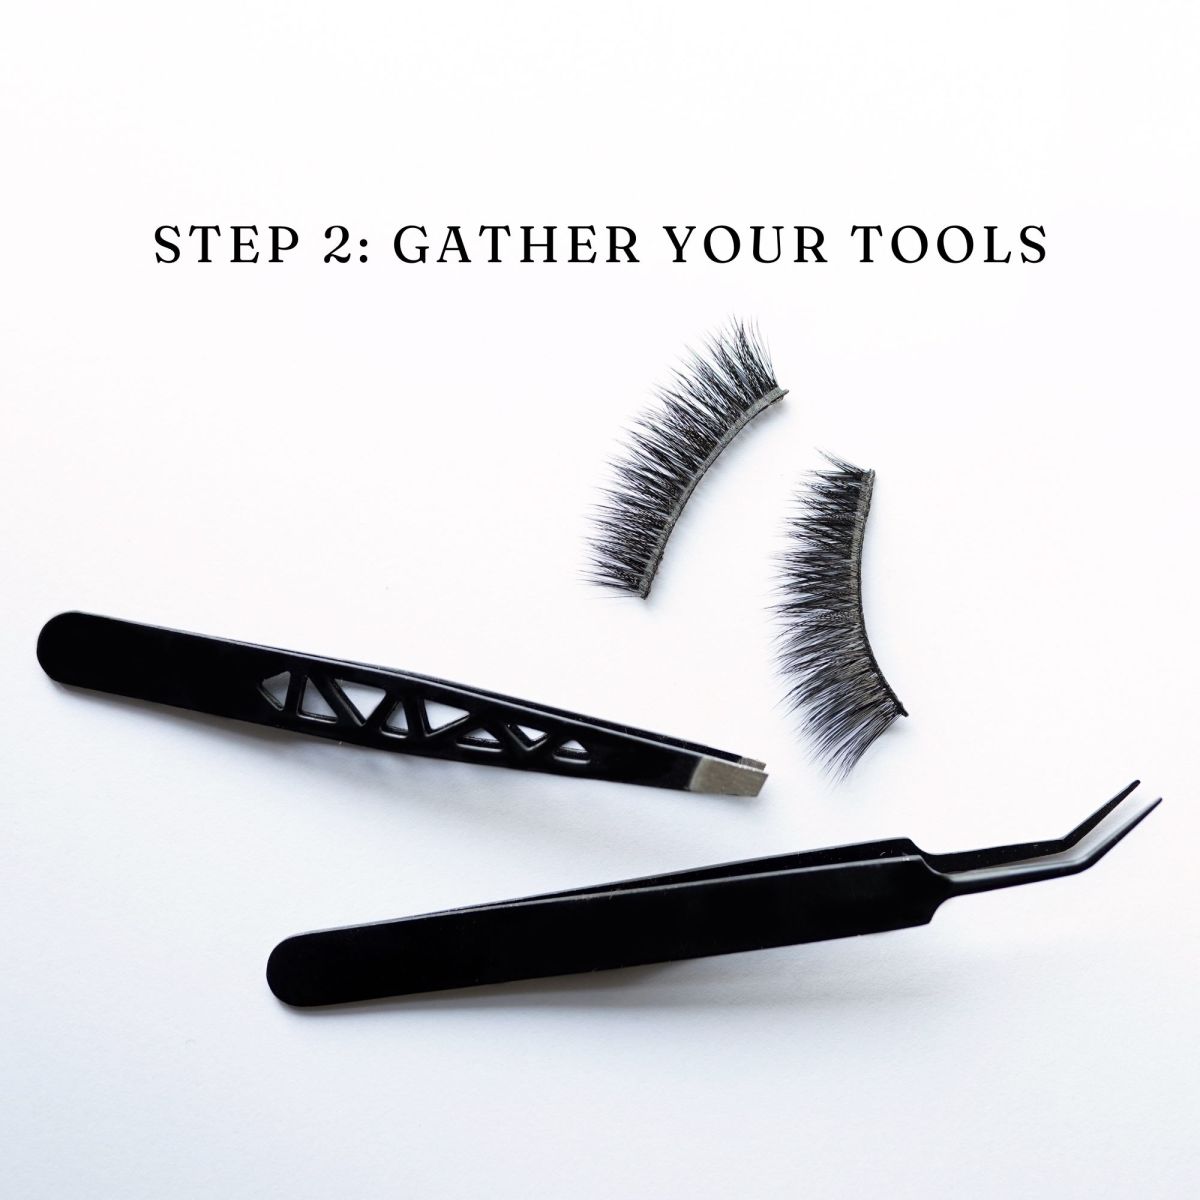
Step 2: Gather Your Tools
Before you begin, make sure you have:
Step 3: Prepare Your Lashes
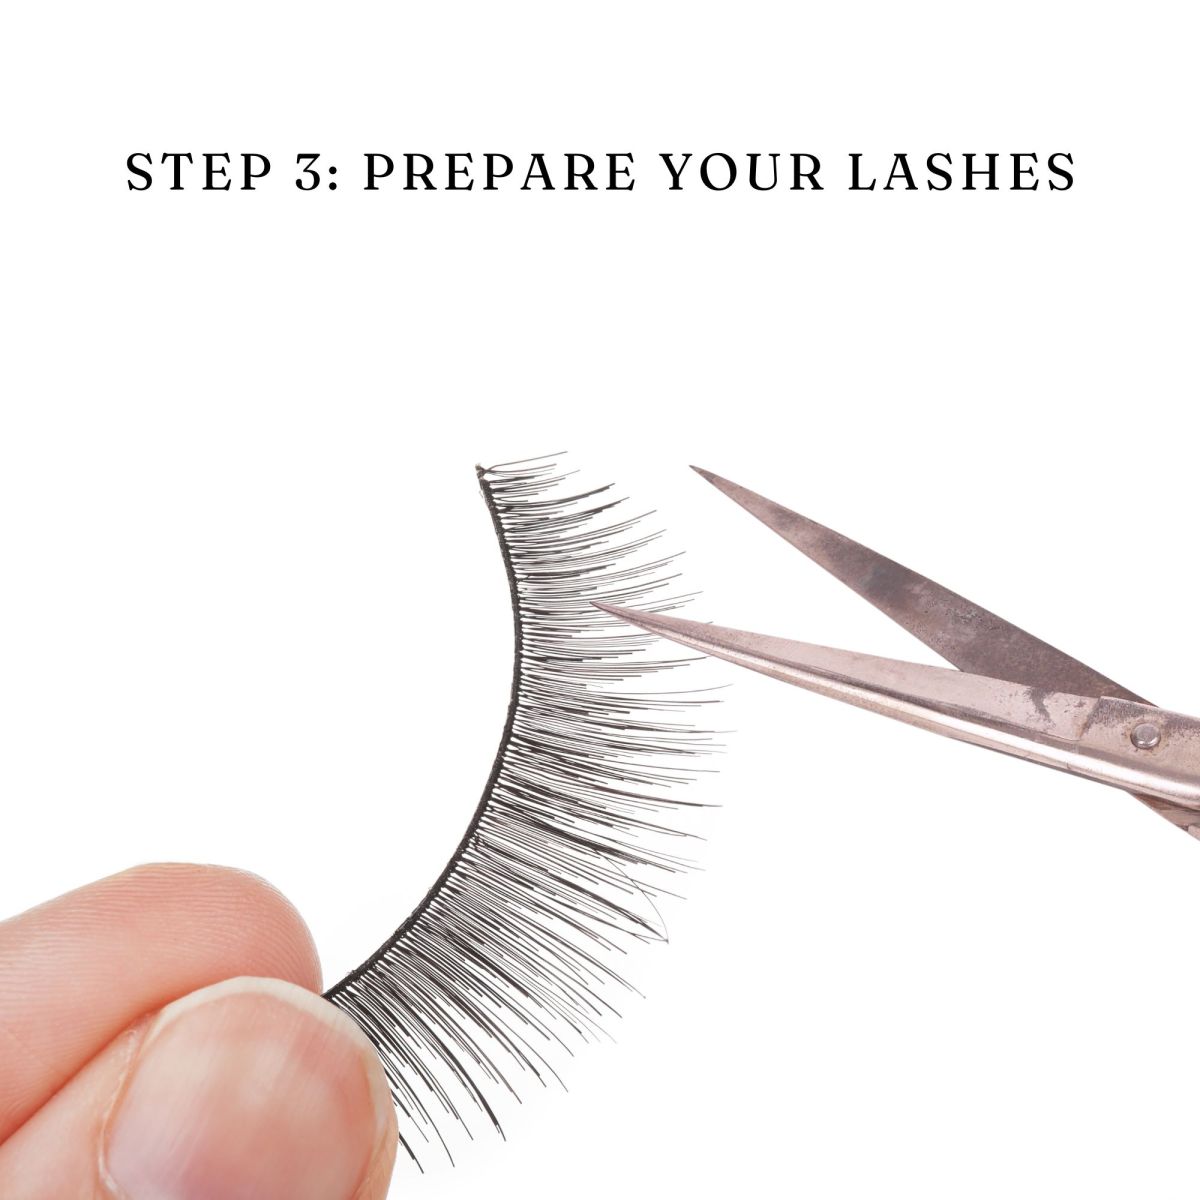
Trim the lashes if needed to fit your eye shape. Start with the base lash:
- Measure the lash against your natural lash line.
- Trim from the outer edge if the lash is too long.
- Repeat the process with the second and optional third pair.
Step 4: Apply the Base Lash
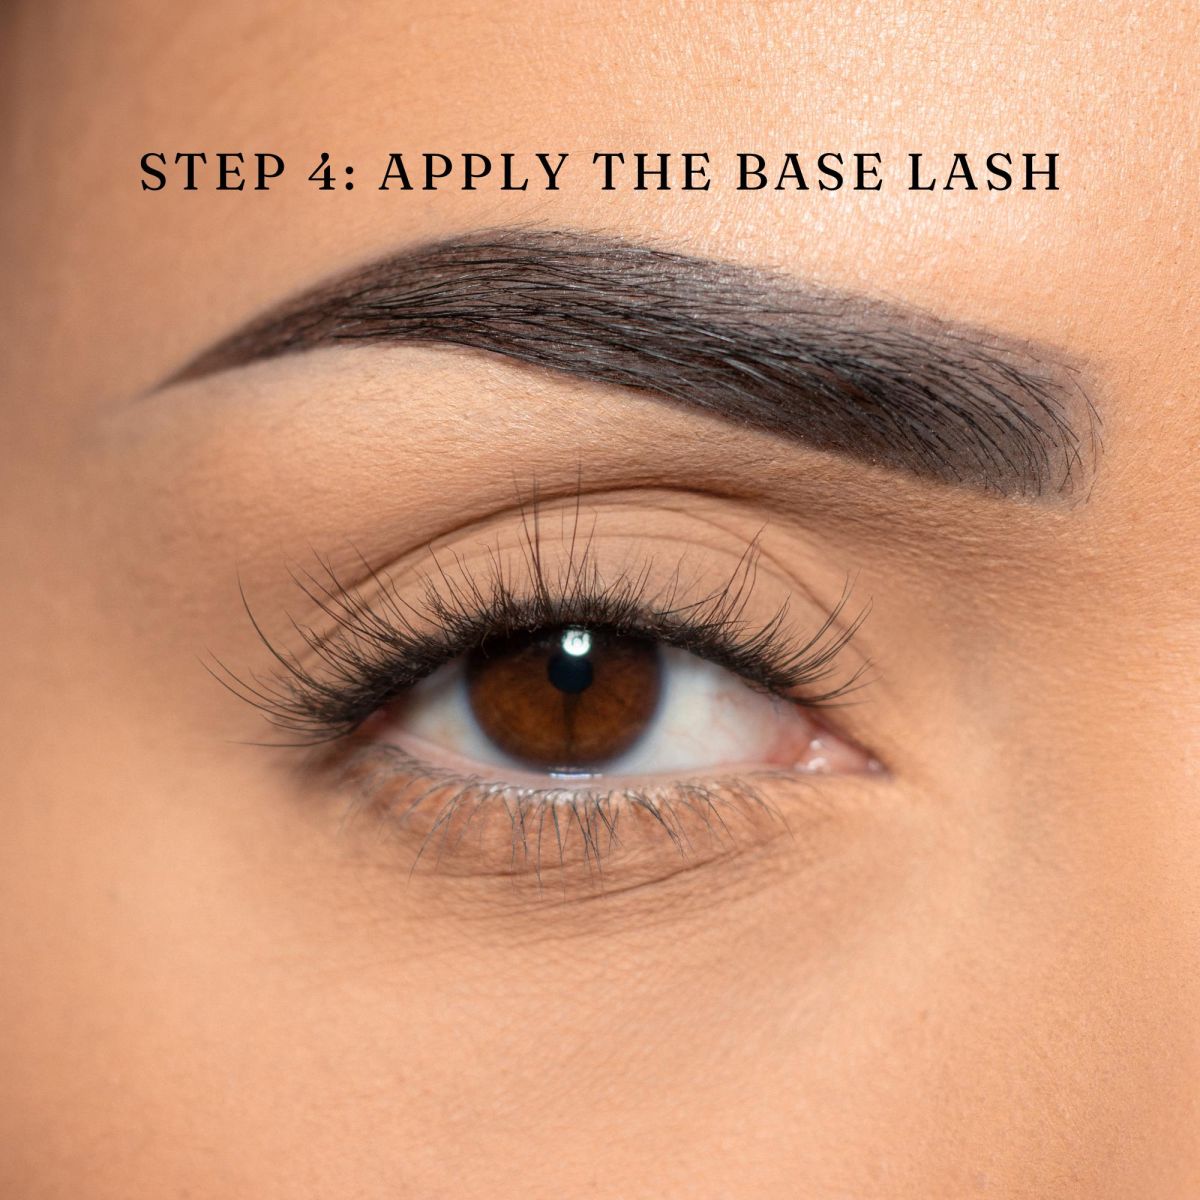
- Apply a thin layer of lash adhesive along the band of the base lash.
- Wait 30 seconds for the adhesive to become tacky.
- Using tweezers, place the lash as close to your natural lash line as possible.
- Press gently along the band to secure it in place.
Step 5: Apply the Second Layer
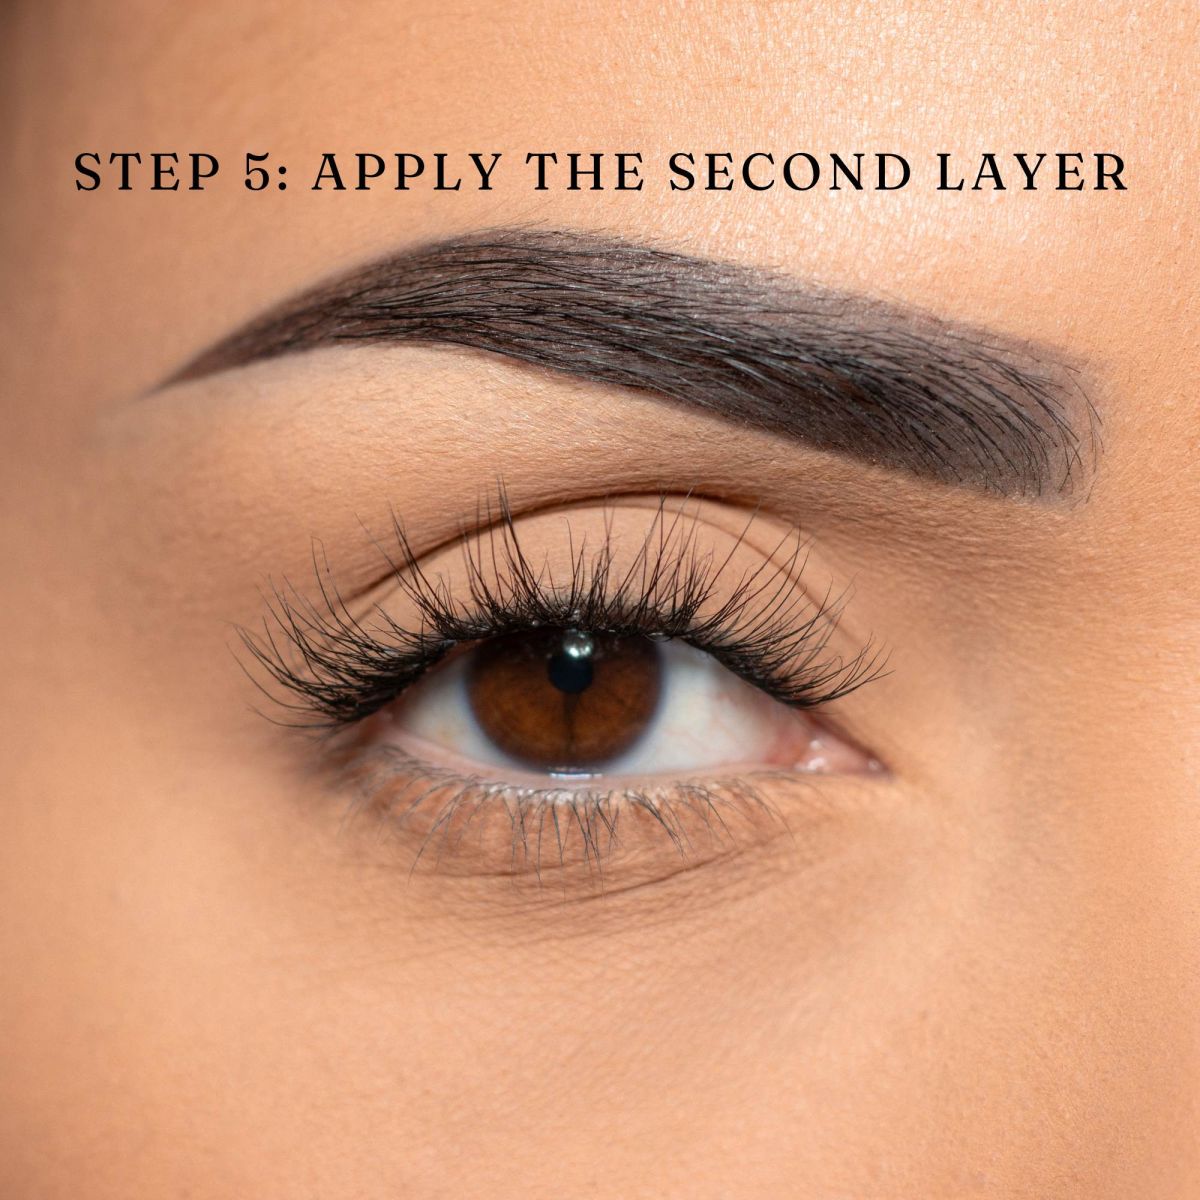
- Apply adhesive to the second pair of lashes or clusters.
- Wait until the adhesive is tacky.
- Place the second lash or clusters directly on top of the base lash, slightly offset to create a layered effect.
- Press down gently to ensure both layers adhere together.
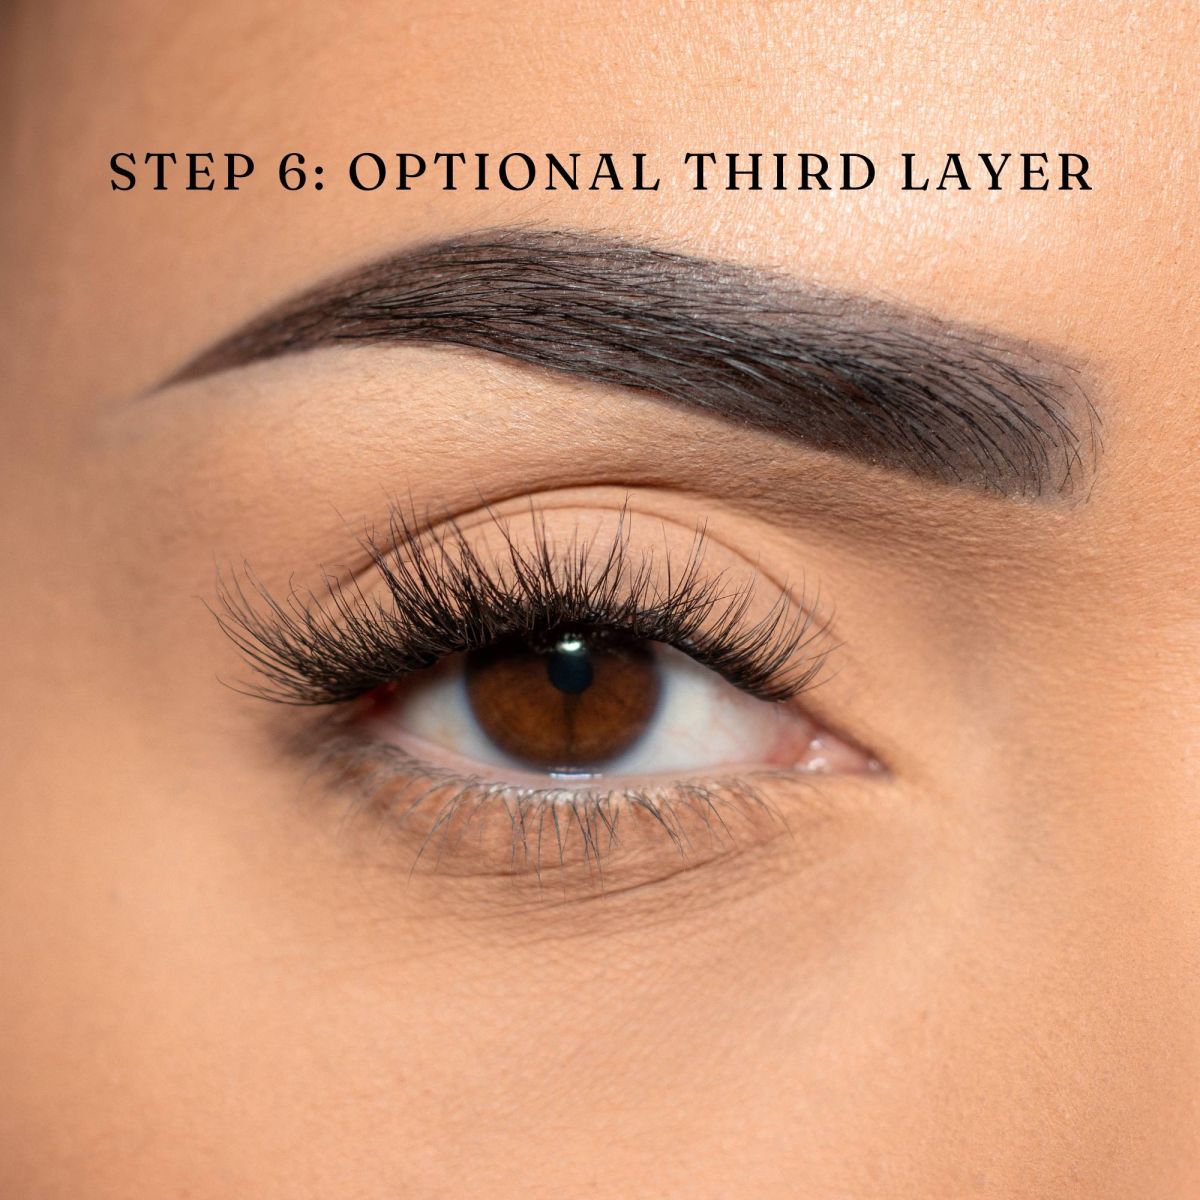
Step 6: Optional Third Layer
If you're going for an ultra-dramatic look:
- Apply adhesive to the third pair of lashes or clusters.
- Wait until tacky, then place them on top of the second layer, again slightly offset.
- Secure all layers by squeezing together gently with your tweezers or lash applicator.
Step 7: Finishing Touches
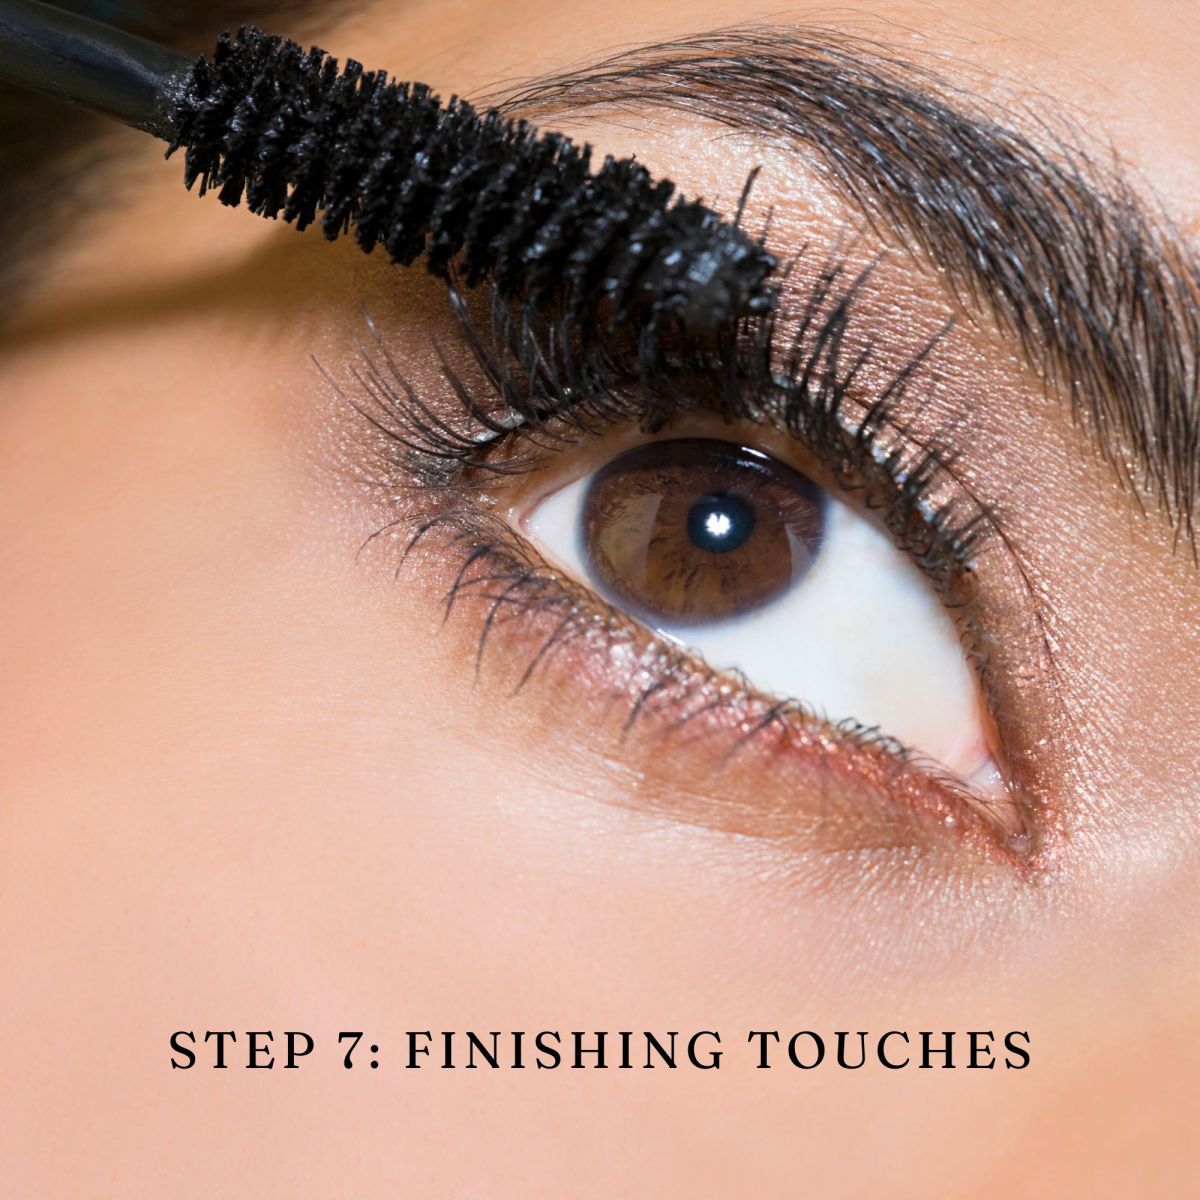
- Use a clean Mascara Wand or lash comb to blend your natural lashes with the falsies.
- Apply a thin line of eyeliner along the lash band to conceal any gaps.
- Add Mascara if desired, to further blend and add volume.
Step 8: Clean Up and Care
After wearing your layered lashes:
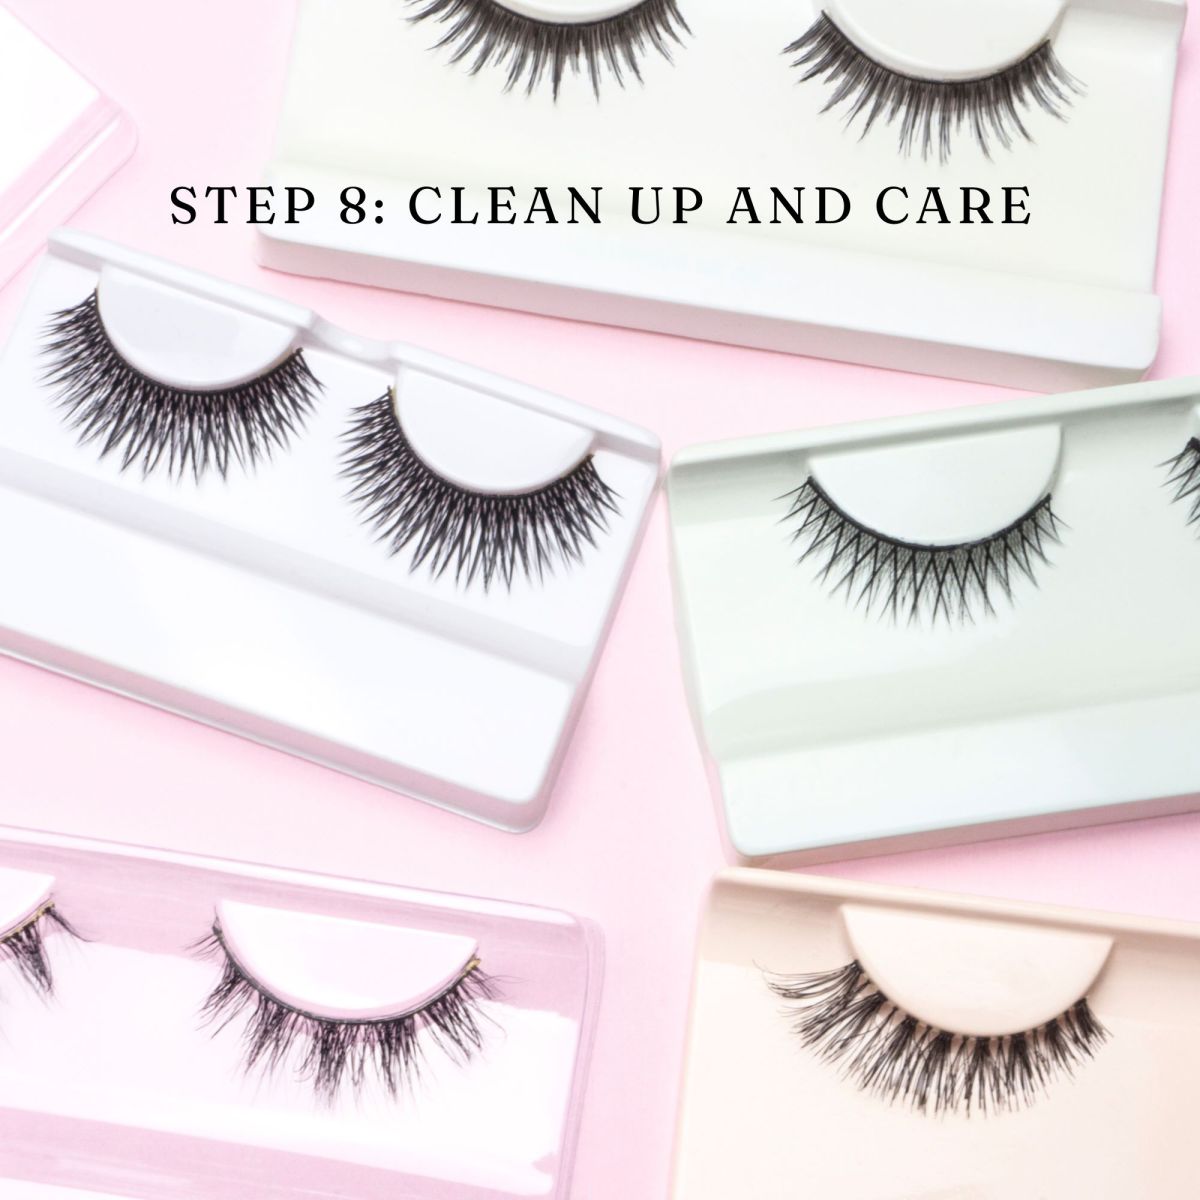
- Gently remove the lashes starting from the outer corner.
- Remove any remaining adhesive from the lash bands.
- Store the lashes in their original packaging for future use.
CONCLUSION
Layering lashes may seem intimidating at first, but with a bit of practice, you'll master the technique and enjoy the stunning, dramatic results. Whether you're getting ready for a glamorous night out or just want to experiment with your everyday look, layering lashes can give you the bold, beautiful eyes you desire.
Shop MODELROCK's collection of individual and stacked lashes to find the perfect pairs for your next lash look. Happy layering!


