Contouring has evolved from a niche make-up trick to an essential step in sculpting and defining your natural beauty. With diverse product ranges and inclusive shade options, learning how to choose the right contour shade for your skin tone has never been easier or more empowering. This guide will help you navigate the world of contouring for every skin tone, from product selection to blending techniques, using the latest MODELROCK tools.
KEY TAKEAWAYS
- ⚡ Contouring should complement your skin tone and undertone: The key to natural definition is selecting contour shades that enhance rather than overpower your complexion. Understanding your undertone ensures balanced, seamless blending.
- ⚡ Identify your undertone before choosing a contour:
- Cool undertones: Pink or blue hues—opt for taupe or cool brown contours.
- Warm undertones: Golden or yellow hues—choose golden-brown or bronze tones.
- Neutral undertones: A mix of both—most contour shades work effectively.
- ⚡ Match your contour depth to your foundation: Select a contour shade 1–2 levels deeper than your base foundation. Matching undertone and depth creates subtle, realistic shadows that suit every skin tone.
- ⚡ Best contour shades by skin tone:
- Fair skin: Cool taupes and soft grey-browns for natural shadows.
- Light skin: Peachy-brown or light bronze tones for gentle warmth.
- Medium skin: Caramel and warm browns for depth and glow.
- Olive skin: Golden-bronze hues with subtle green/yellow undertones.
- Deep skin: Espresso, chocolate, or deep plum for richness and contrast.
- ⚡ Blending methods enhance finish and control:
- Stippling: Use a damp sponge for cream products.
- Buffing: Apply in circular motions with fluffy brushes for powder contours.
- Feathering: Sweep lightly to soften harsh edges—ideal for nose and fine areas.
- ⚡ Tool selection makes a difference:
- Soft, angled brushes for lighter skin tones give subtle control.
- Denser brushes for deeper tones ensure strong pigment payoff.
- Beauty sponges and duo-fibre brushes create airbrushed finishes.
- ⚡ Fix common contouring mistakes with ease:
- Too dark? Soften with foundation or translucent powder.
- Patchy blend? Prep skin with moisturizer and primer.
- Harsh lines? Blur edges with a clean sponge.
- Wrong undertone? Swap for shades that complement your base tone.
- ⚡ Finishing touches perfect the sculpt: Layer blush between contour and highlight, set with translucent powder, and seal with setting spray. The CHISEL-SCULPT-SHADE Face Palette provides coordinated shades for contour, blush, and highlight blending.
- ⚡ MODELROCK’s inclusive products simplify contouring:
- Cream Contour Stick: Butter-smooth formula for all undertones.
- Creamy Matte Concealer: Perfect for subtle sculpting and highlighting.
- CHISEL-SCULPT-SHADE Palette: Designed for layering and multidimensional definition.
- ⚡ Final takeaway: Contouring isn’t about changing your features—it’s about enhancing them. Embrace your undertone, blend confidently, and sculpt with precision using tools that celebrate your individuality.
Why Contouring Isn’t One-Size-Fits-All
Contouring success depends on how well you understand your unique skin tone and undertone. The right contour shade can enhance your features subtly or create bold definition, but the wrong one can leave your make-up looking muddy or ashy.

Luckily, beauty brands are more inclusive than ever. MODELROCK’s expanded range, including the Cream Contour Stick and Creamy Matte Concealer, offers 13 shades designed to suit all skin tones and undertones. The days of limited shade selections are over!
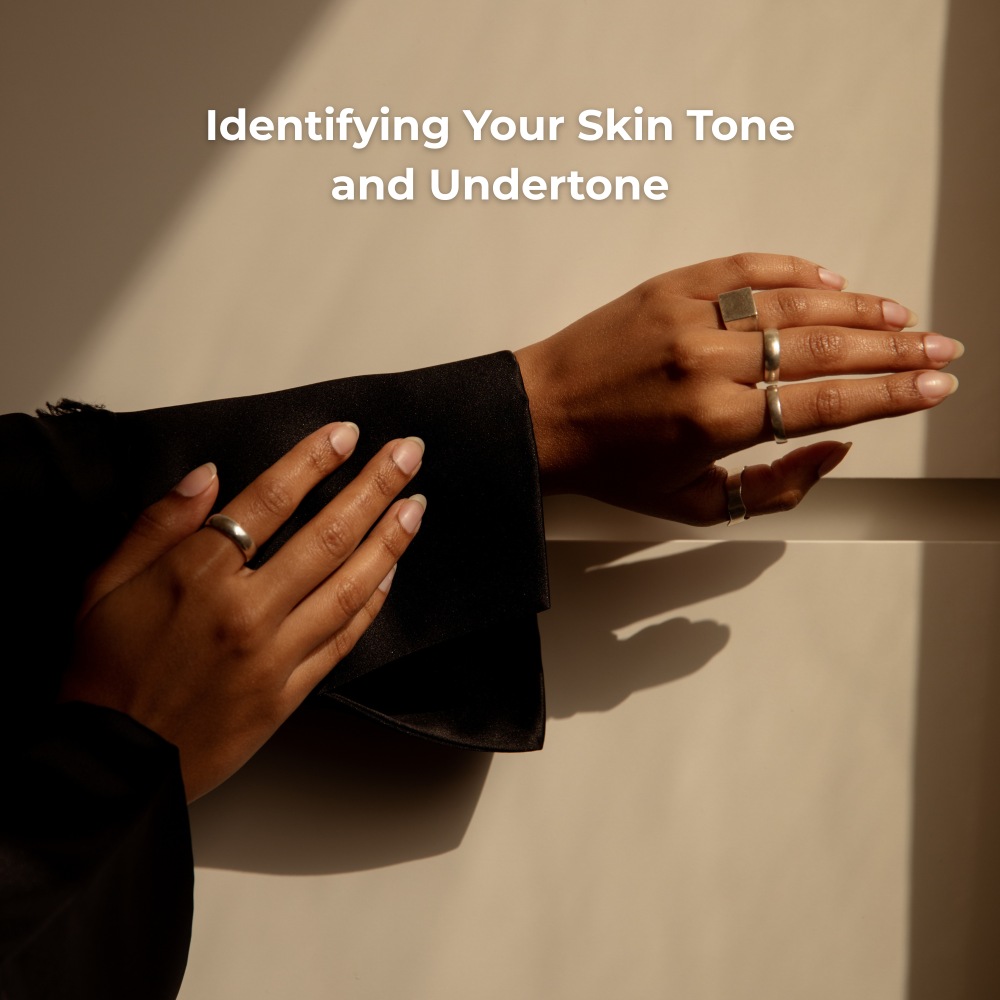
Identifying Your Skin Tone and Undertone
Before you learn how to choose contour shade, it’s essential to understand your skin’s undertone:
How to check:
Look at the veins on your wrist.
- Blue/purple = cool undertones
- Green = warm undertones
- Both = neutral undertones
Try the jewellery test.
- Silver flatters cool tones
- Gold flatters warm tones
Breakdown by undertone:
- Cool undertones → Pink or blue hues: best with taupe or cool brown contours
- Warm undertones → Yellow or golden hues: best with golden-brown or bronze contours
- Neutral undertones → Balance of both: most contour shades will work
How to Choose the Right Contour Shade
2025 trends emphasise customisation and seamless definition. When picking a contour shade:
- Choose a tone 1–2 levels deeper than your foundation
- Match depth first, then undertone
By skin depth:
- Fair skin: Cool-toned taupe or soft grey-brown
- Light skin: Light bronzes, peachy-browns
- Medium skin: Warm brown or caramel
- Olive skin: Golden bronzes with green/yellow depth
- Deep skin: Rich chocolate, espresso, or deep plum
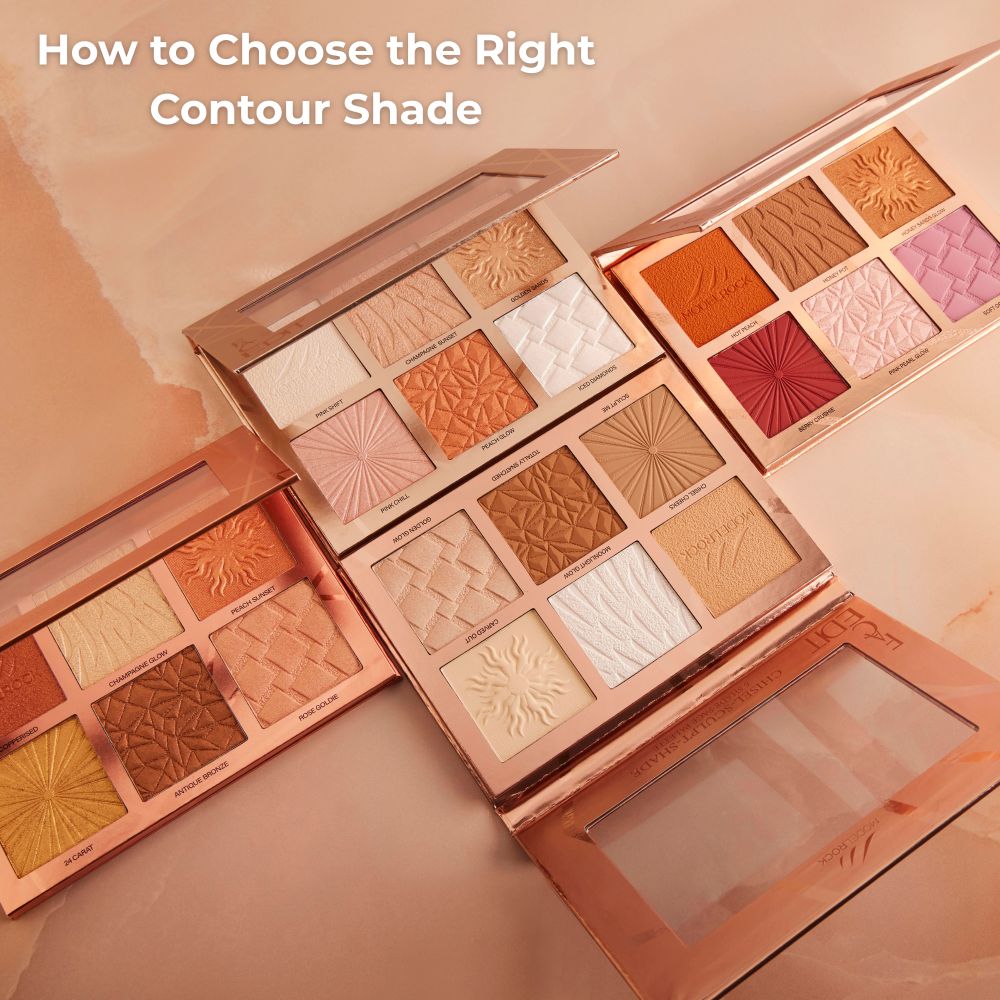
Pro Tip: Try the MODELROCK x KRYSTALK Cream Contour Stick. Its butter-like formula makes blending easy across all undertones.
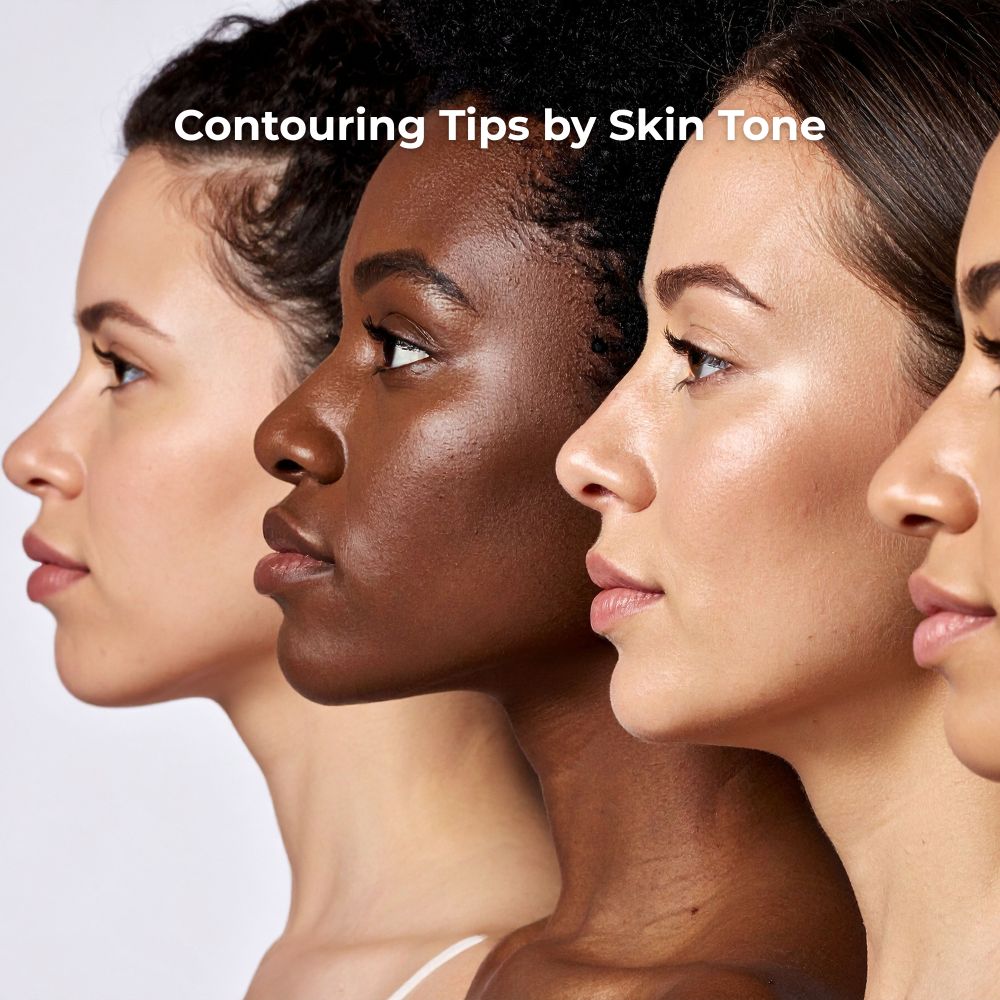
Contouring Tips by Skin Tone
Fair & Light Skin Tones
- Stick to cool-toned or neutral taupe shades to avoid orange tones.
- Matte finishes are ideal.
- Highlight with champagne or pearl tones for a natural lift.
- Use the Creamy Matte Concealer in a slightly lighter shade as both a brightener and soft contour.
Medium & Olive Skin Tones
- Use warm browns or caramel tones to bring warmth.
- Avoid going too dark to maintain a natural finish.
- Golden highlighters work best to enhance olive undertones.
- The Cream Contour Stick’s golden and caramel options are perfect for olive complexions.
Deep & Dark Skin Tones
- Opt for espresso, chocolate, or deep plum contours.
- Avoid greyish or overly cool shades.
- Highlight with bronze, copper, or rose gold.
- Use the CHISEL-SCULPT-SHADE PALETTE, which includes rich contour and highlighter tones tailored for deep skin.
Blend Like a Pro: Application Techniques
Stippling vs Buffing vs Feathering
- Stippling: Dabbing with a damp sponge (great for cream products like MODELROCK’s contour stick)
- Buffing: Circular motions using a fluffy brush (ideal for powder-based contours)
- Feathering: Light sweeping to soften edges, best for sensitive areas like the nose
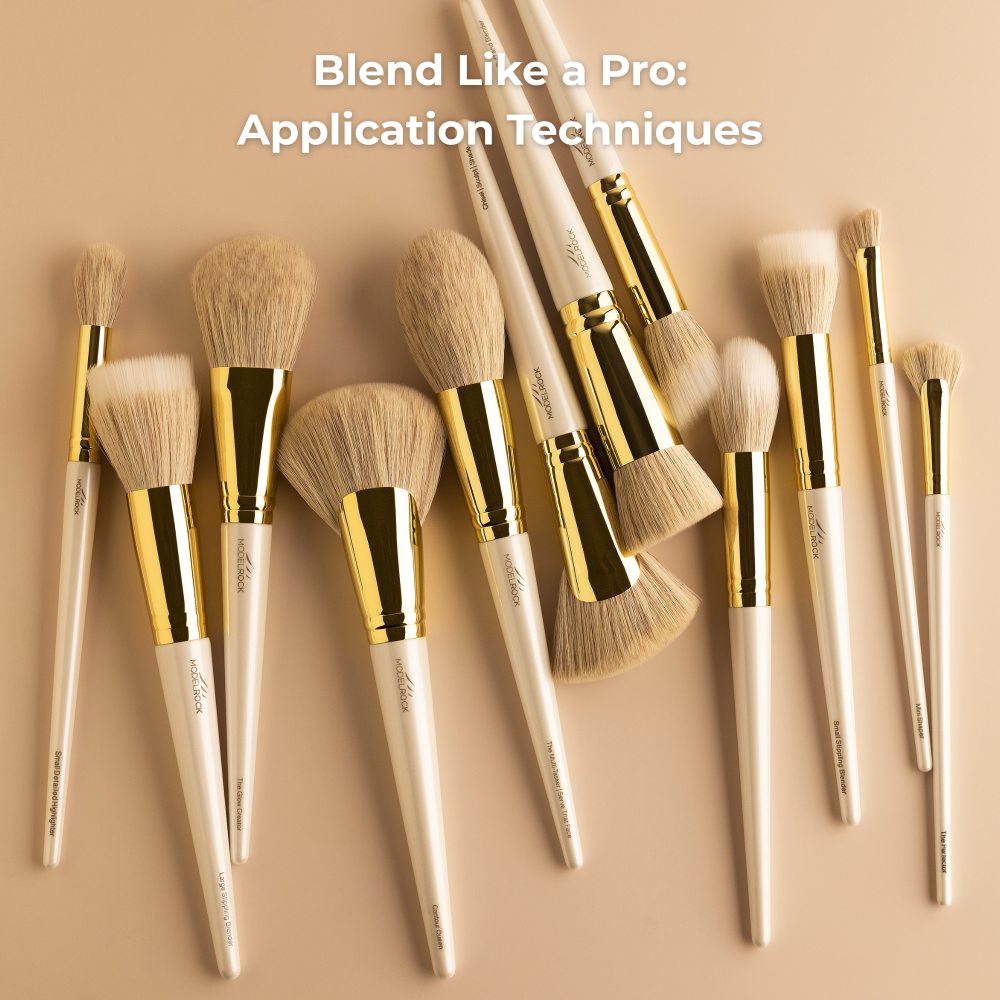
Tool tip: Lighter skin tones benefit from soft brushes for control, while deeper tones may prefer denser brushes for pigment payoff.
Tools to Try in 2025
- Angled duo-fiber brushes: Create a soft-focus effect
- Cream contour sticks with built-in blenders: Fast and precise
- Beauty sponges: Great for cream-based contouring
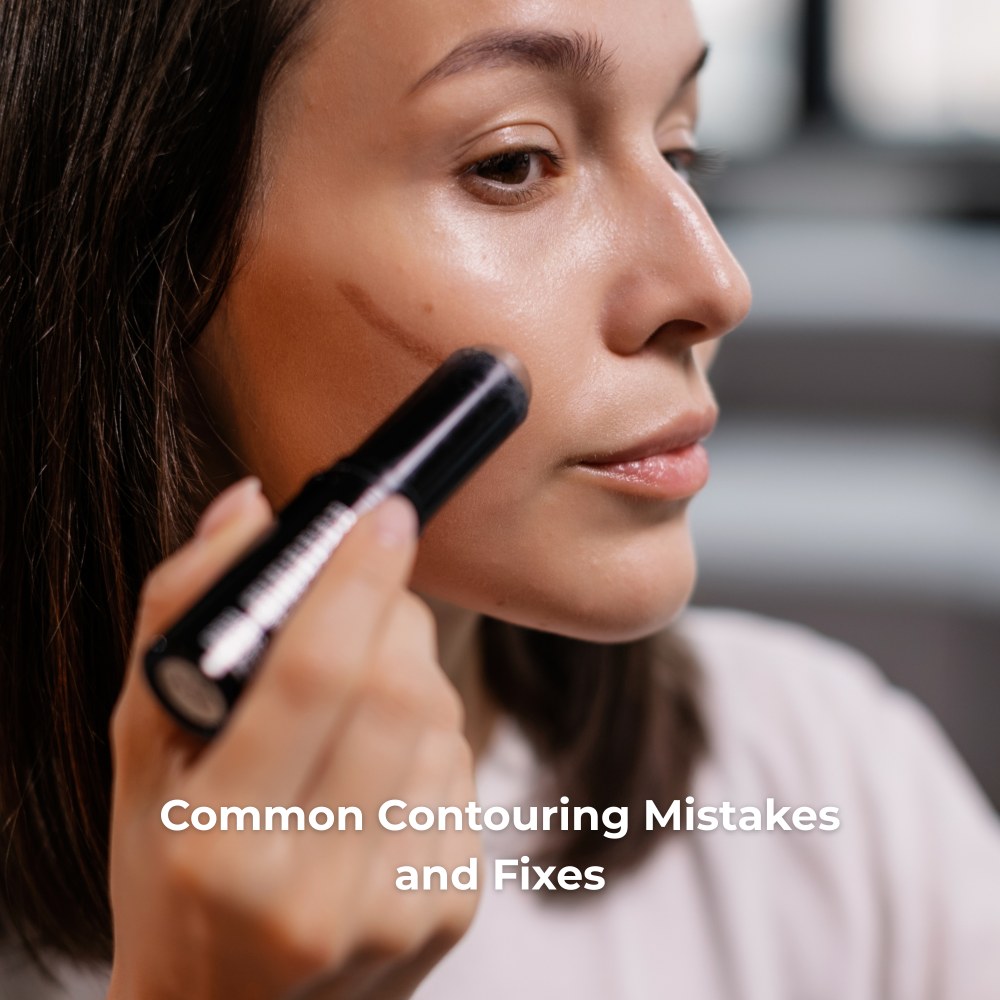
Common Contouring Mistakes and Fixes
- Too dark? Soften with foundation or a translucent powder
- Patchy blend? Improve your skin prep with moisturizer and primer
- Harsh lines? Use a clean brush or sponge to blur edges
- Wrong undertone? Reassess your contour product and swap for a better match
Finishing Touches: Highlight, Blush & Set
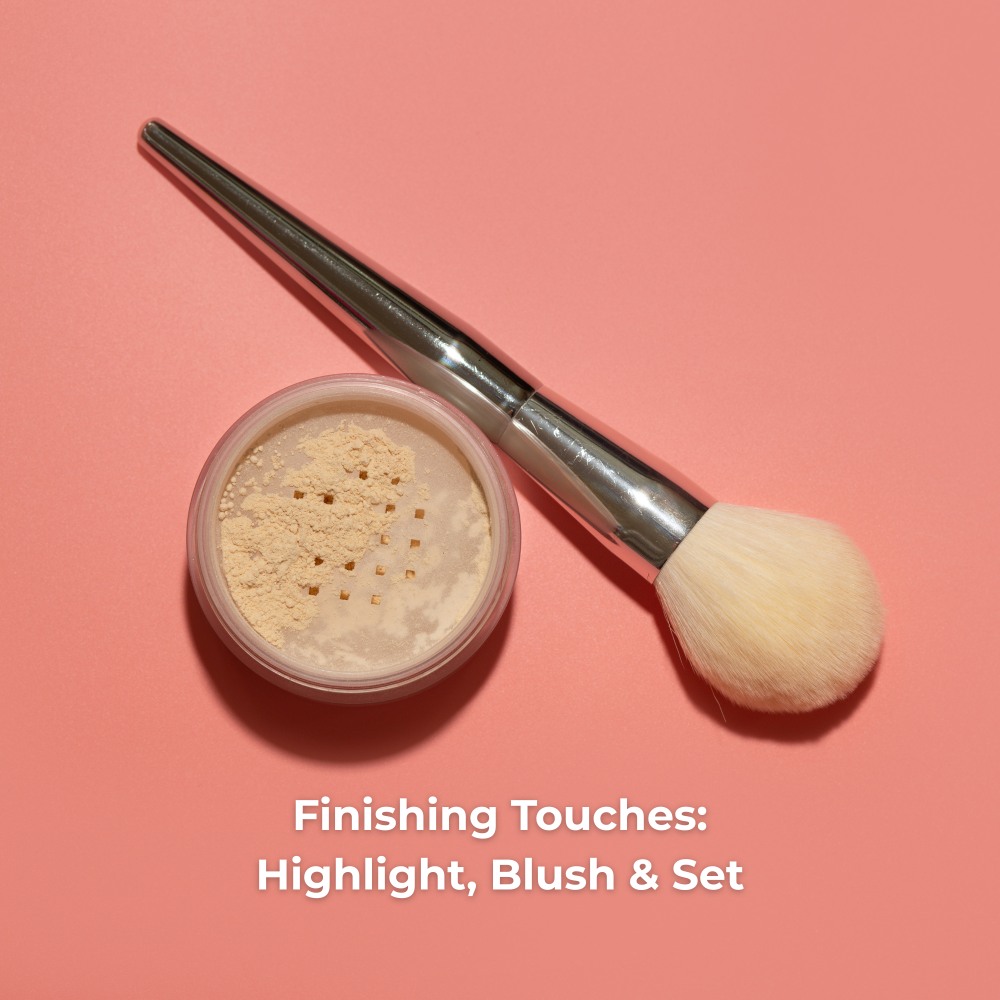
To complete your sculpted look:
- Apply blush between your contour and highlight for a seamless transition
- Set with translucent powder to reduce shine
- Lock everything in with a setting spray for all-day wear
- Use the CHISEL-SCULPT-SHADE Face Palette to layer brightening, blush, and highlight shades effortlessly
Final Thoughts: Confidence in Every Stroke
Contouring isn’t about changing your features. It’s about defining and celebrating them. Learning how to choose contour shade based on your skin tone and undertone empowers you to tailor your make-up to your individuality.
With inclusive tools like MODELROCK’s Creamy Matte Concealer, Cream Contour Stick, and CHISEL-SCULPT-SHADE Palette, contouring for every skin tone is no longer guesswork, it’s precision with personality.
So experiment, blend boldly, and #GETYOURMODELROCKON with confidence!
Explore MODELROCK’s full range of contour tools and make-up brushes here.


