March 17, 2023

Hey Beauties! Today, we're going to talk about the amazing BASE MAKER SPONGE from MODELROCK. If you haven't tried it yet, you're missing out on a game-changing tool that will take your makeup skills to the next level.
In this blog post, we'll show you how to use the Base Maker Sponge to achieve a flawless base. We'll cover everything from preparing your sponge to how to keep it clean, so you can get the most out of this amazing tool.
Whether you're a seasoned pro or just starting out, don't worry - we've got you covered. By the end of this guide, you'll have all the tips and tricks you need to make the most of your Base Maker Sponge and elevate your makeup game. So, let's #GETYOURMODERLROCKON and start!
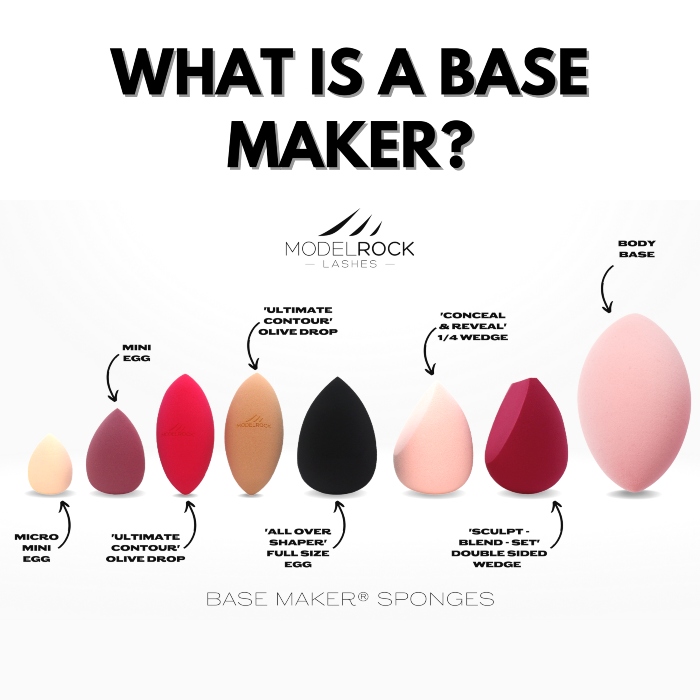
So what exactly is a Base Maker? Essentially, it's a sponge-like tool, that is designed to help apply foundation, concealer, and other base makeup products flawlessly. They come in a variety of colours, shapes and sizes. Not to mention, they can be used wet or dry, depending on your make-up application needs. The Base Maker has become a must-have item in many makeup kits, and for good reason.
To get that perfect base, using your Base Maker correctly is crucial. When used properly, this magical sponge can work wonders, blending your makeup seamlessly into your skin for a flawless, natural-looking finish. Not only that, but it can even minimize the appearance of pores and fine lines, giving you a smooth, youthful complexion.
However, if you don't use it correctly, you could end up with a cakey, patchy mess on your hands. That's why it's important to understand the proper techniques for using a Base Maker.
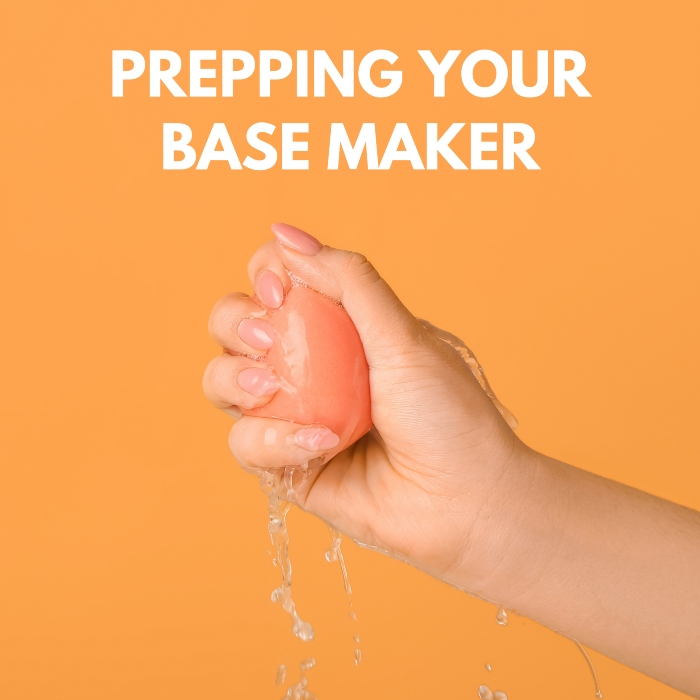
Before you even start applying your makeup, you'll want to make sure your sponge is prepped and ready to go. One of the most important steps? Wetting the sponge beforehand if you're blending liquid or cream products.
· When the sponge is damp, it expands, allowing it to blend your liquid and cream products more seamlessly into your skin. It also prevents the sponge from absorbing too much product, which can cause you to use more foundation than you need.
· To wet your sponge, run it under water until it's completely saturated. Make sure to squeeze out any excess water before use. You want the sponge to be damp, not soaking wet.
· The answer is up to you! Warm water can help to open your pores, which can make it easier to blend your foundation. On the other hand, cold water can help to reduce puffiness and soothe your skin.

To apply foundation with your Base Maker, start by dotting the product onto your face. Then, use the sponge to blend the foundation into your skin, using a bouncing motion instead of dragging or swiping. This helps to prevent streaks and ensures even coverage.
When applying foundation, it's important to work in sections. Start with your forehead, then move to your cheeks, nose, and chin. This will help you achieve a more even coverage and avoid a cakey finish.
Now, what about hard-to-reach areas like around your nose and eyes? Don't worry, we've got you covered. The MINI BASE MAKER SPONGE is perfect for getting into these areas. Simply wet the mini sponge and use it to blend in the foundation around your nose and under your eyes.
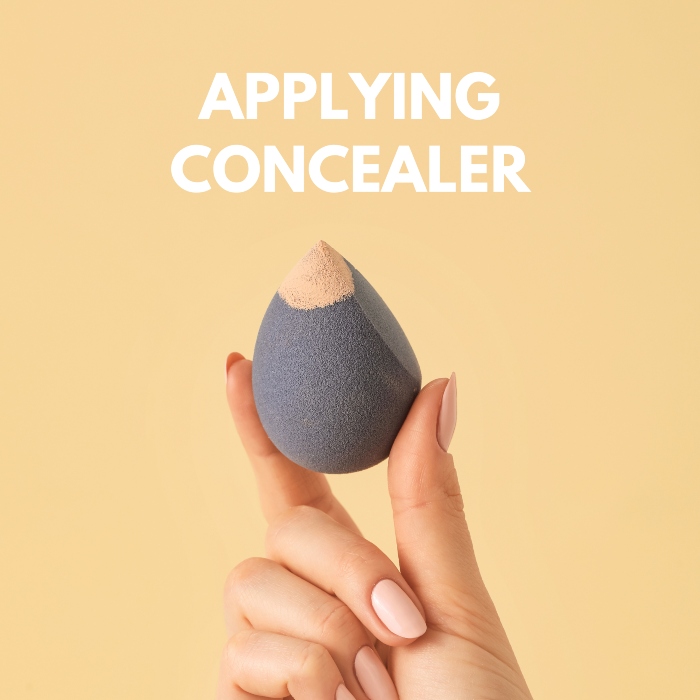
To apply concealer with your Base Maker, start by dotting the concealer onto the areas you want to cover, such as blemishes or under-eye circles.
Next, use the pointed end of your Base Maker to gently blend the concealer into your skin. You can also use the round bottom of the sponge to blend out any harsh lines or edges. It's important to blend your concealer evenly to avoid any patchiness or unevenness in your complexion.
When covering blemishes, use a tapping motion with your sponge to blend the concealer into the skin. This will help to avoid rubbing off any product and keep the coverage in place. For under-eye circles, use a light hand and blend gently to avoid tugging at the delicate skin around your eyes.
Remember, less is more when it comes to concealer. Use a small amount of product and build up coverage as needed. And if you're struggling with dark circles, consider using a colour-correcting concealer in addition to your regular concealer. A peach-toned concealer can help to cancel out any blue or purple undertones in your under-eye area. For a more detailed tutorial, check out our previous blog: HOW TO HIDE UNDER-EYE CIRCLES.
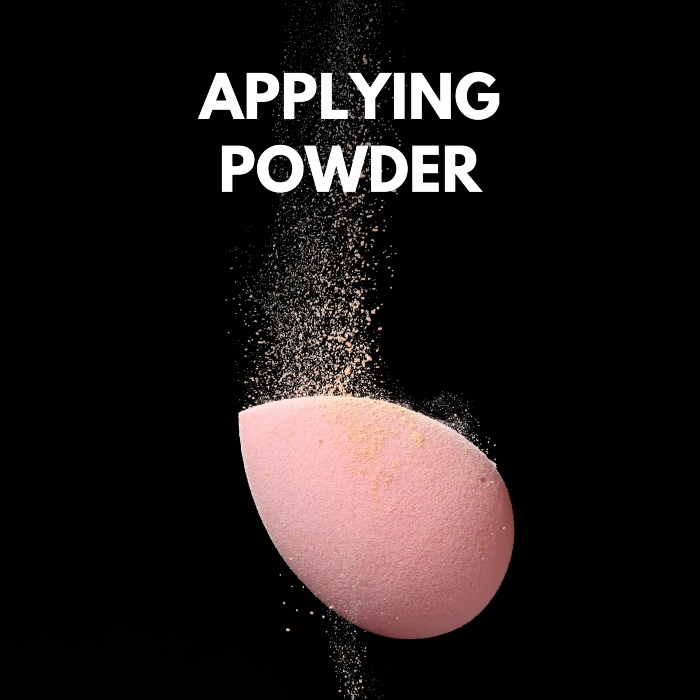
To apply powder, dip your dry Base Maker into your loose or pressed powder of choice. Make sure to tap off any excess before applying. Next, gently press the sponge onto your skin, focusing on areas where you tend to get oily or shiny.
To avoid a cakey look, make sure to use a light hand when applying powder. It's better to apply a little bit at a time and build up coverage as needed. You can also use the clean side of your sponge to blend out any excess powder if you accidentally apply too much.
But if you're a fan of a full coverage and flawless look, you might want to give "baking" a try. Baking is a technique that involves applying a generous amount of powder to the areas where you want to set your makeup. After leaving the powder on for a few minutes, you simply use a clean MAKEUP BRUSH to dust off any excess powder. By doing this, you'll be able to achieve a snatched and full coverage look that stays in place all day.
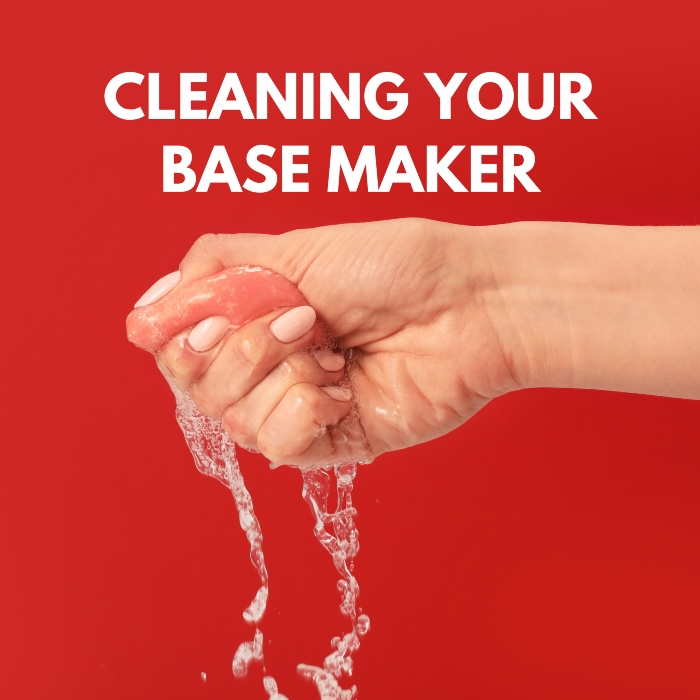
Now that you've got the hang of using your Base Maker Sponge, it's crucial to keep it clean to ensure its effectiveness and keep your skin healthy. To prevent the build-up of bacteria and product residue, it's best to clean your Base Maker after every use.
For cleaning, you can use a soap that's designed for cleaning brushes and sponges like our SOLID SOAP BRUSH AND SPONGE CLEANER. Simply wet your sponge and rub it against the soap's surface before working it in with your fingers. Repeat this process until the water runs clear, then squeeze out any excess water.
It's also essential to maintain a clean and healthy Base Maker by avoiding leaving it damp or storing it in a closed container. This can create a breeding ground for bacteria, so it's best to leave it out in a clean, dry area to air out. For an in-depth tutorial and video on how to clean them, check out our previous blog HOW TO CLEAN YOUR MAKEUP SPONGES.
Even with regular cleaning, your Base Maker will start to show signs of wear and tear over time. If you notice it starting to rip or lose its shape, it's time to replace it with a new one. We suggest replacing your sponges every three months, even if you don't notice any visible damage. Make sure you're always prepared with a Base Maker Sponge and pick up a BULK PACK! Available for purchase HERE.
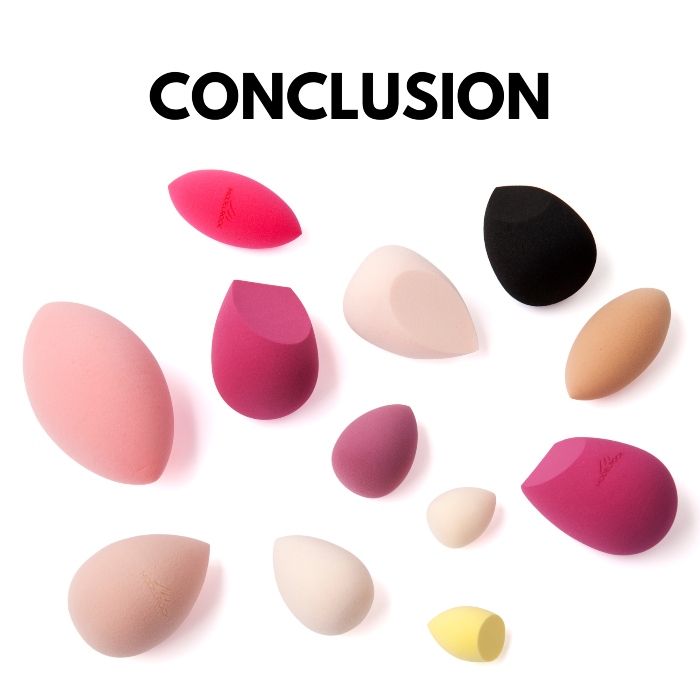
To wrap things up, the Base Maker Sponge is a fantastic tool that can help you achieve a flawless makeup finish. Always make sure to properly prep your sponge and apply your products with a gentle patting motion. Don't forget to clean your sponge regularly, replacing it every three months, or sooner if it starts to show signs of wear and tear.
With these tips in mind, you're sure to improve your makeup skills and enjoy a flawless look every time you use your Base Maker Sponge. Happy blending!