With a little lipstick-mixing magic, you can personalise your pout and make every shade uniquely yours. Let’s break down how to mix lipstick shades like a true beauty artist.
Whether you're experimenting with a red and pink lipstick mix or trying to breathe new life into a barely-used nude, learning how to mix lipstick shades opens up a world of creative freedom. It’s a cost-effective, makeup-bag-friendly way to explore new colour combinations without needing a whole new lipstick haul. In this guide, we’ll walk you through everything you need to know—from the basics of lipstick mixing to colour theory, technique, and the best MODELROCK products to use along the way.
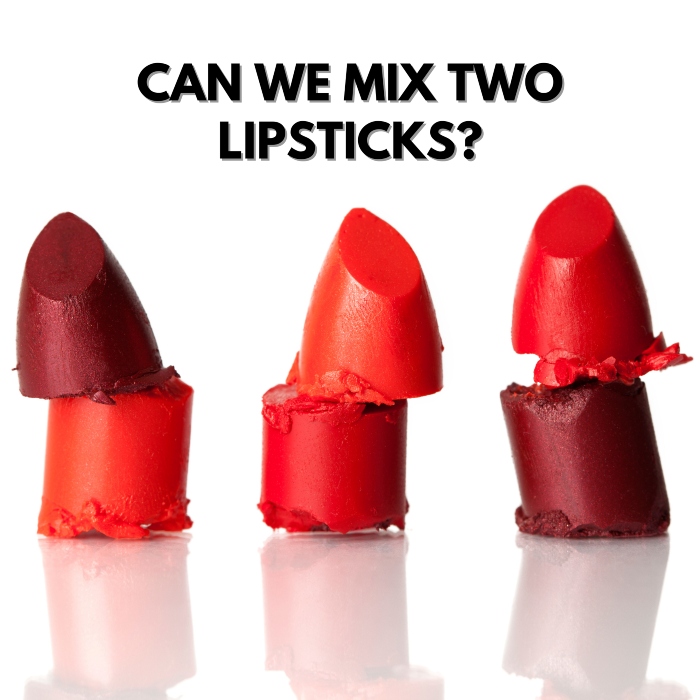
CAN WE MIX TWO LIPSTICKS?
Yes, you can certainly mix two lipsticks together to create a new shade. In fact, it’s quite easy to do. The key is to choose shades that complement each other and to experiment with different ratios until you find the perfect combination. It's also a great way to use up those half-empty tubes of lipstick that have been sitting in your makeup bag for a while.
WHY LIPSTICK MIXING IS A TOTAL GAME-CHANGER
Mixing lipsticks might seem like something only a professional makeup artist would do—but it’s actually a simple and satisfying beauty trick that anyone can master. Here’s why it deserves a permanent spot in your routine:
Unlimited Custom Colours: By mixing two (or more) lipsticks, you can create a bespoke colour that’s completely your own. Whether you’re craving a softer version of a bold shade or a deeper take on a pastel, the combinations are virtually endless. Think of it as your personal lipstick colour mixing chart in action.
Balance and Correct Undertones: We’ve all bought lipsticks that looked gorgeous in the tube but didn’t quite work once applied. Mixing gives you the power to adjust those shades—cool down a coral that’s too warm, or brighten a deep berry that feels too moody.
Seamless Day-to-Night Transitions: Your perfect everyday nude can become your go-to evening mauve with just a hint of plum or rose. It’s the easiest way to adapt your lipstick throughout the day without starting from scratch.
Maximise What You Already Own: Before buying into the next trend colour, try recreating it by mixing what’s already in your kit. It’s sustainable, budget-friendly, and often results in a colour that suits your style better than an off-the-shelf version.
LIPSTICK MIXING 101: WHAT YOU NEED TO KNOW
Lipstick mixing can be as simple or as structured as you like, but there are a few key tips to keep your blends smooth, flattering, and wearable.
Choose Compatible Textures: The best results come from combining similar lipstick formulas. Creams, satins, and balms mix beautifully because of their hydrating textures. On the flip side, mixing a matte lipstick with a gloss or oily formula often causes pigment separation or uneven application. If you want the staying power of a matte, try blending two velvet-matte lipsticks or layer a matte over a cream base once it’s set.
Start Light, Then Add Depth: Think of your first lipstick as the canvas, and your second shade as the “tone corrector.” Begin with a lighter or more neutral lipstick as the base, then layer a deeper shade to control intensity. This helps avoid overpowering the final colour and keeps the blend balanced.
Mixing Palette (or the back of your hand): Ideal for pre-blending shades.
Cotton Buds/Q-tips: Perfect for tidying the lip line and correcting smudges.
Makeup Spatula (optional): To melt and mix shades in a pot for a DIY custom lipstick. (See video for tutorial)
NEED INSPO? TRY THESE LIPSTICK MIXING COMBOS
Not sure where to start? Try these easy, flattering pairings based on popular lipstick mixing combos. Each one gives you a trend-forward hue that’s anything but basic:
Red + Pink: A classic red mixed with bright or bubblegum pink creates a modern berry tone—fresh, flirty, and perfect for spring/summer. The pink softens the red’s boldness while keeping it vibrant.
Nude + Brown: Layering a creamy nude with rich brown results in a mocha-toned neutral—sultry, sophisticated, and endlessly wearable.
Orange + Fuchsia: This vibrant combo gives you a bold coral or tropical pink, depending on the ratio. Ideal for warmer skin tones or anyone wanting to make a statement.
Plum + Rose Pink: Plum adds drama, while rose brings softness. Together, they create a romantic mauve hue that flatters cool undertones and works beautifully for evening looks.
Pro Tip: Refer to a lipstick colour mixing chart (like a basic colour wheel) to understand how warm and cool tones interact. It’ll help guide your experiments and prevent muddy or clashing results.
HOW DO YOU BLEND LIPSTICK COLOURS?
Now that you know which shades and textures play well together, let’s move on to application. Whether you're creating a full custom blend or a softly layered ombré, follow these steps for a flawless finish:
Step 1: Prep Your Lips:
Start with a smooth canvas. Gently exfoliate with a sugar scrub or toothbrush, then apply a hydrating lip balm and let it absorb. This prevents product from settling into lines or flaking during wear.
Step 2: Apply Your Base Shade:
Choose your lighter or undertone lipstick. Apply it evenly with a lip brush, especially along the edges. Let it set briefly, especially if using a cream or semi-matte formula.
Step 3: Add Your Accent Shade:
Dab or swipe your second lipstick strategically over the first:
For a blended tone: Apply all over.
For ombré: Concentrate in the centre.
For contouring: Use darker tones on the edges and a pop of light in the middle.
Step 4: Blend to Perfection:
Using a clean lip brush or fingertip, softly blur the edges between colours. Don’t over-mix—this keeps each shade visible and adds dimension.
Step 5: Add Shine (Optional):
Tap a clear or tinted gloss onto the centre for a fuller look. A dab of highlighter (yes, the cheek kind!) can add a luminous, editorial finish. Just don’t overdo gloss—it can break down your blend if too thick.
HOW TO MIX DIFFERENT SHADES OF LIPSTICK LIKE A PRO
Start by breaking off each lipstick using a makeup spatula, scooping the pieces onto a metal spoon. Mash the broken lipsticks to flatten them out as much as possible. Then, hold the spoon over the flame of a lighter or candle for a few seconds until the lipstick is completely melted.
Once the lipsticks are melted, use your spatula to mix them together until the colours are completely blended. Pour the mixture from the spoon into a small makeup container. Use the spatula to scrape off any remaining lipstick from the spoon. Seal the container tightly with the lid.
After several minutes, unscrew the lid of the container and gently touch the new lipstick shade with your fingertips to make sure the mixture is cooled down and solidified. If it is, you're ready to apply your new lipstick shade.
Take your lipstick brush or applicator and coat your lips evenly with the new colour. Be sure to seal the makeup jar tightly when you're done. Now you're ready to use your unique lipstick colour any time you choose.
HOW DO YOU LAYER LIPSTICK COLOUR?
Layering lipstick is a great way to add depth and dimension to your lip colour. It's also a great way to make your lipstick last longer and give your lips a fuller appearance. Here's a step-by-step guide on how to layer lipstick:
Start by applying a lip primer or lip balm to your lips. This will create a smooth base for the lipstick to adhere to and will also help to moisturize your lips.
Apply a thin layer of your first lipstick shade. Use a lip brush for a more precise application.
Allow the first layer to dry for a few minutes.
Apply a second layer of a different lipstick shade on top of the first layer.
Use your finger or a lip brush to blend the two shades together.
You can finish at Step 5, or optionally, apply a clear GLOSS on top to add shine and hydration.
When layering lipsticks, it's best to choose shades that are in the same colour family or shades that complement each other. For example, you can layer a light purple shade over a dark plum shade to add depth and dimension to the colour. Experiment with different hues and combinations to find the perfect layered lip colour for you.
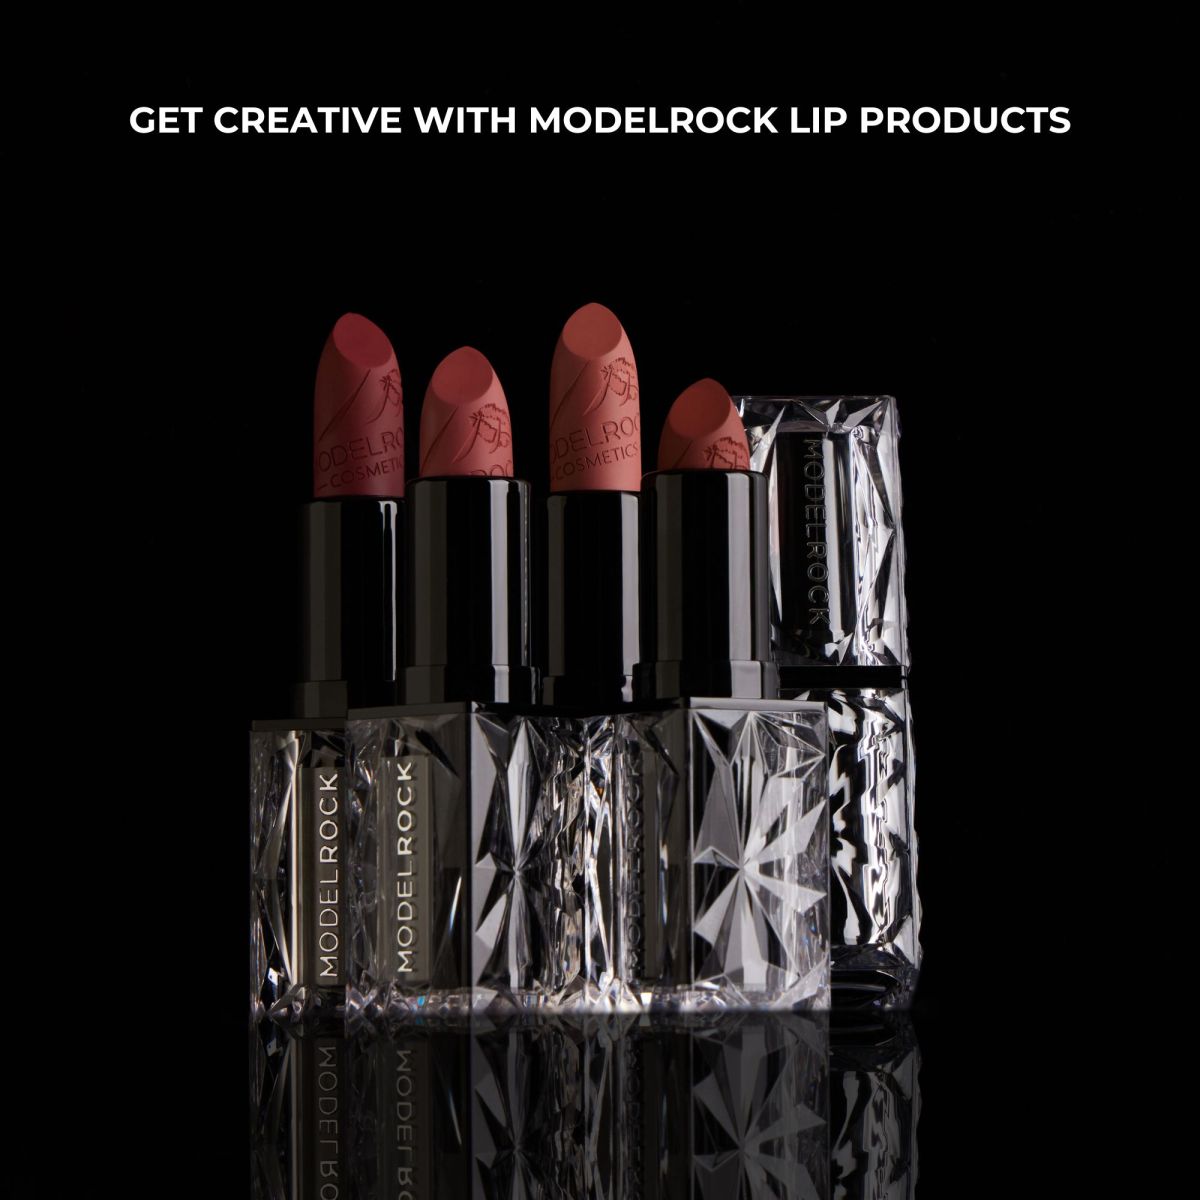
GET CREATIVE WITH MODELROCK LIP PRODUCTS
Using the right products makes all the difference. MODELROCK’s standout lip range is made for artistry—whether you're blending on the fly or building your signature shade.
Haute Crème Couture Velvet Matte Lipstick
Plush, high-pigment and silky smooth, this velvet matte glides on effortlessly and settles into a soft-focus finish. It’s ideal for layering, mixing, or wearing solo when your lips are the star of the look.
Vivid Lip Pencils (SkinnyStixz)
These ultra-slim liners give bold, waterproof colour and help shape, define, and extend the wear of your lipstick blends. Use as a base or outline before mixing. Creamy, smooth and precise—perfect for any lipstick mixologist.
Liquid to Matte Longwear Lipstick
These velvety, full-coverage lipsticks dry to a budge-proof matte that lasts all day without feeling dry. Bonus: they’re infused with a subtle chocolatey scent—equal parts indulgent and impactful.
LIPSTICK MIXING MISTAKES (AND HOW TO FIX THEM)
Even pros get it wrong sometimes. Here’s what to avoid—and how to save your blend:
Mixing Incompatible Formulas: Don’t pair matte with slippery gloss unless layering intentionally. Always apply matte first, then gloss sparingly on top.
Colour Overload: Too many shades can create a dull, muddy mess. Stick with a main shade and use others as accents.
Clashing Undertones: Warm and cool tones don’t always mix well. If you're experimenting, anchor the look with a neutral base to tie everything together.
Dirty Tools = Patchy Finish: Clean your lip brush between shades. Residual pigment can muddy the colour and ruin your mix.
CONCLUSION
Lipstick mixing gives you the power to create a shade that’s completely yours—tailored to your skin tone, mood, and moment. Whether you're layering nude and brown for a soft mocha or mixing red and pink for a vibrant berry pout, this creative process is where makeup becomes play.
Ready to start blending like a pro? Shop MODELROCK’s full range of lipsticks, liners and tools to build your own lipstick lab at home. With the right textures, tones and tools, your next signature lip shade is just a mix away.
LIKE WHAT YOU READ? SHARE THIS ARTICLE
Leave a comment
Australian Owned
Lorem ipsum dolor sit amet, consectetur adipiscing elit, sed do eiusmod tempor incididunt ut labore et dolore magna aliqua. Ut enim ad minim veniam, quis nostrud exercitation ullamco laboris nisi ut aliquip ex ea commodo consequat. Duis aute irure dolor in reprehenderit in voluptate velit esse cillum dolore eu fugiat nulla pariatur.
Excepteur sint occaecat cupidatat non proident, sunt in culpa qui officia deserunt mollit anim id est laborum.
Same Day Dispatch
We ship every business day from our warehouse on the NSW Central Coast.
Orders received before 3:30pm (NSW time) are generally dispatched the same day. Delays may be experienced during sale and promotional periods.
Vegan & Cruelty Free
Lorem ipsum dolor sit amet, consectetur adipiscing elit, sed do eiusmod tempor incididunt ut labore et dolore magna aliqua. Ut enim ad minim veniam, quis nostrud exercitation ullamco laboris nisi ut aliquip ex ea commodo consequat. Duis aute irure dolor in reprehenderit in voluptate velit esse cillum dolore eu fugiat nulla pariatur.
Excepteur sint occaecat cupidatat non proident, sunt in culpa qui officia deserunt mollit anim id est laborum.
Huge Range Products
Lorem ipsum dolor sit amet, consectetur adipiscing elit, sed do eiusmod tempor incididunt ut labore et dolore magna aliqua. Ut enim ad minim veniam, quis nostrud exercitation ullamco laboris nisi ut aliquip ex ea commodo consequat. Duis aute irure dolor in reprehenderit in voluptate velit esse cillum dolore eu fugiat nulla pariatur.
Excepteur sint occaecat cupidatat non proident, sunt in culpa qui officia deserunt mollit anim id est laborum.
High Quality Products
Lorem ipsum dolor sit amet, consectetur adipiscing elit, sed do eiusmod tempor incididunt ut labore et dolore magna aliqua. Ut enim ad minim veniam, quis nostrud exercitation ullamco laboris nisi ut aliquip ex ea commodo consequat. Duis aute irure dolor in reprehenderit in voluptate velit esse cillum dolore eu fugiat nulla pariatur.
Excepteur sint occaecat cupidatat non proident, sunt in culpa qui officia deserunt mollit anim id est laborum.
Est. 2012
Lorem ipsum dolor sit amet, consectetur adipiscing elit, sed do eiusmod tempor incididunt ut labore et dolore magna aliqua. Ut enim ad minim veniam, quis nostrud exercitation ullamco laboris nisi ut aliquip ex ea commodo consequat. Duis aute irure dolor in reprehenderit in voluptate velit esse cillum dolore eu fugiat nulla pariatur.
Excepteur sint occaecat cupidatat non proident, sunt in culpa qui officia deserunt mollit anim id est laborum.

.jpg)