March 06, 2026

Let’s be clear, we’ve officially retired the heavy, streaky “war paint” contour of 2016. Today’s contour your face tutorial is softer, smarter, and way more elevated. Think subtle shadows, lifted cheekbones, and that airy “cloud skin” finish. The goal? Natural-but-enhanced. Like you were born with those cheekbones, you just hydrated and slept eight hours. Whether you’re brand new to sculpting or already fluent in glam, this makeup contour how-to will show you how to create an instant lift without looking overdone.
Before we dive into the face contouring steps, let’s clear something up:
Contour = sculpting.
It mimics shadow to shape and define.
Bronzer = warmth.
It mimics the sun to add glow and colour.
If it looks orange, it’s bronzer. If it looks like a soft shadow, that’s contour. We’re here to sculpt, not sunbathe.
Choosing between cream vs powder contour is all about the finish you love and the trends you’re tapping into. Right now? Cream formulas are dominating. The “Clean Girl” aesthetic and “Latte Makeup” trend are all about skin that looks like skin. Fresh, glossy, and breathable.
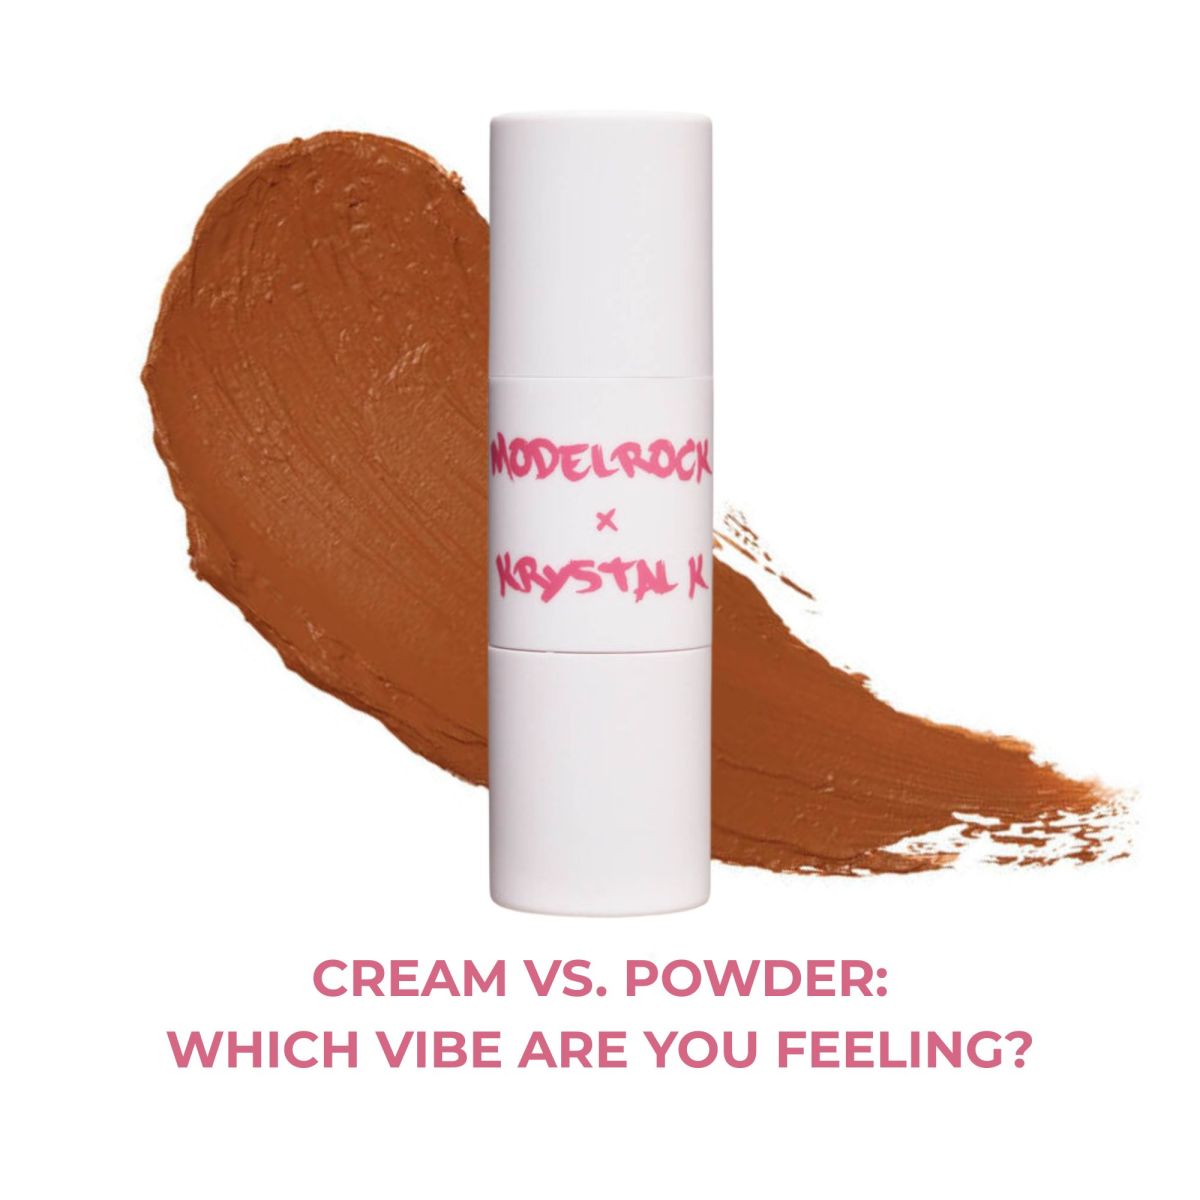
Cream contour melts into the complexion, making it perfect if you want that lifted-but-natural vibe.
Pro tip: You can absolutely layer them. Cream first, powder lightly on top to lock it in for a 12-hour slay.
And if you want to level up? Meet the underpainting trend. Popularised by celebrity MUAs, underpainting means applying cream contour before foundation. Once you blend foundation over the top, the sculpt peeks through like you were born with it. Subtle. Seamless. Genius.
Now for the main event, your modern face contouring steps.
You can’t build a masterpiece on a dry canvas. Hydrate, prime, and apply your foundation first (unless you’re underpainting). If you need help finding your perfect base, check out our “How to Choose Your Foundation” guide before you start sculpting.
Before applying product, look in the mirror and gently tilt your chin down. See where natural shadows fall under your cheekbones? That’s your contour zone. You’re enhancing what’s already there, not drawing a new face.
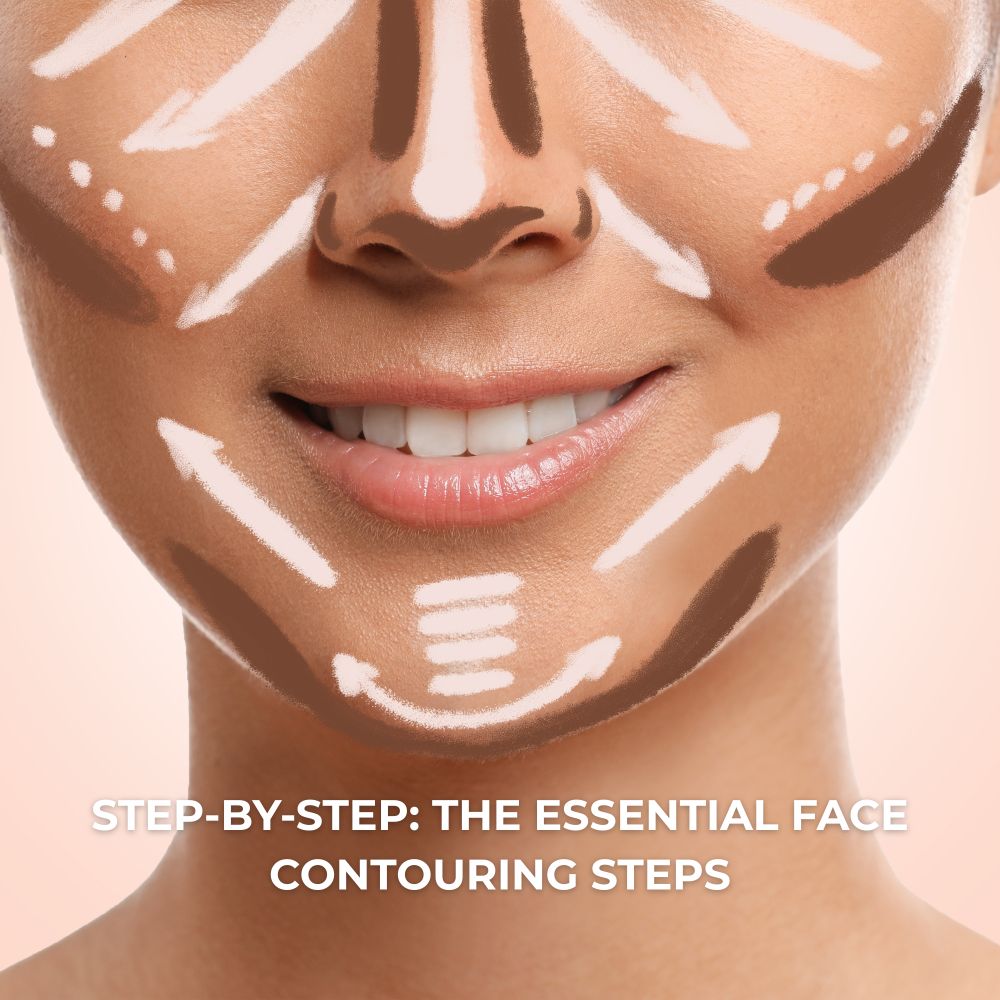
Now we sculpt.
This is where magic happens. Use upward, buffing motions. Blending upward lifts the face visually, blending downward drags it. Take your time here. The difference between “snatched” and “smudged” is patience.
Contouring techniques your favorite celebrities or beauty gurus use may not suit you. This is because contouring is not a ‘one size fits all’ as everyone has different features. We recommend contouring based on your specific face shape, but do what best works for you and your preferences. We have listed the characteristics of facial shapes so you can identify what yours is and how to best contour it.
 |
Your face is OVAL if it is approximately twice as long as it is wide and there are also no distinct points to your chin, jaw or hairline. Contour your cheekbones beginning at your ears and finishing in the middle of your cheeks. Highlight the centre of the forehead, chin and under your eyes to create balance. |
 |
Your face is RECTANGULAR if it is approximately twice as long as it is wide and there are distinct and angular points to your chin, jaw or hairline. Contour around the sides of your forehead temples and hairline to give the illusion of a shorter forehead. Contour your cheekbones beginning at your ears and finishing in the middle of your cheeks and under your jawline. Highlight the centre of your chin and under your eyes in an upside down triangle shape. |
 |
Your face is ROUND if it is roughly the same length and width and you have no apparent points along your jawline, chin or forehead. Contour the sides of your forehead and temples to slim down this area. Also contour your cheekbones beginning at your ears and towards the middle of your cheeks, then down towards your jawline to add some length to your face. Highlight the centre of the forehead, chin and under your eyes and just above the jawline to create definition. |
 |
Your face is DIAMOND shaped if it is longer than it is wider and your cheeks are the widest part of your face. Your hairline and chin are narrower in comparison. Contour your cheekbones beginning at your ears and finishing in the middle of your cheeks and slightly under the chin area to shorten the point. Highlight under your eyes in an upside-down triangle shape. Also the centre of your forehead and chin to help widen these narrower areas. |
 |
Your face is HEART shaped if your forehead is the widest part of your features. Your chin appears narrow and pointed and your cheeks are slimmer than your hairline. Contour along the sides of your forehead, temples and cheek bones. This will balance out the wider upper half and the narrower lower half of your face. Highlight under your eyes in an upside-down triangle shape. Also, highlight the centre of your forehead to create balance and highlight your chin to help widen this narrow area. |
 |
Your face is SQUARE if it is roughly the same length and width and your hairline and jawline appear even. You may also have angular and sharp features. Contour the sides of your forehead, temples and along your hairline to give the illusion of a smaller forehead. Contour below your cheekbones and under your jawbone to slim this area. Highlight beneath your eyes in an upside-down triangle shape and in the middle of your forehead and chin to highlight the centre of the face. |
Remember: these are guidelines, not rules. Makeup is art, not geometry class.
Let’s talk nose contouring, the step that intimidates everyone.
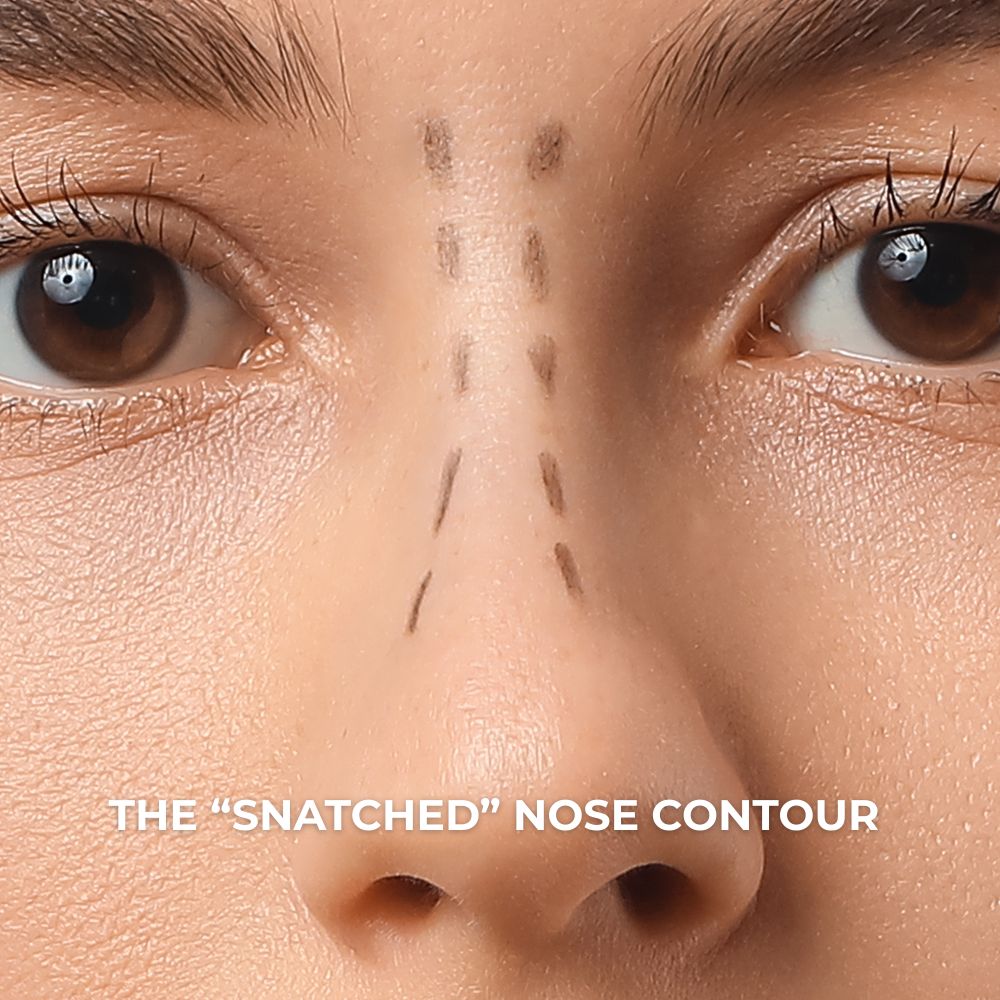
Here’s the hack: use a small, dense brush. Precision matters.
In every elevated contour your face tutorial in 2026, nose sculpting is refined, not harsh. The goal isn’t two dark stripes, it’s subtle shadow that enhances your natural shape.
Less product. More blending. Always.
Even pros make mistakes. Here’s how to avoid the classics:
Your contour shade is too warm.
Contour should be cool-toned like a shadow, not orange like a tan.
You didn’t blend into the hairline or down the neck. Everything should connect seamlessly.
If you can see the stripe before blending, it’s probably too much. Start soft. Build slowly. Sculpting is about enhancement, not camouflage.
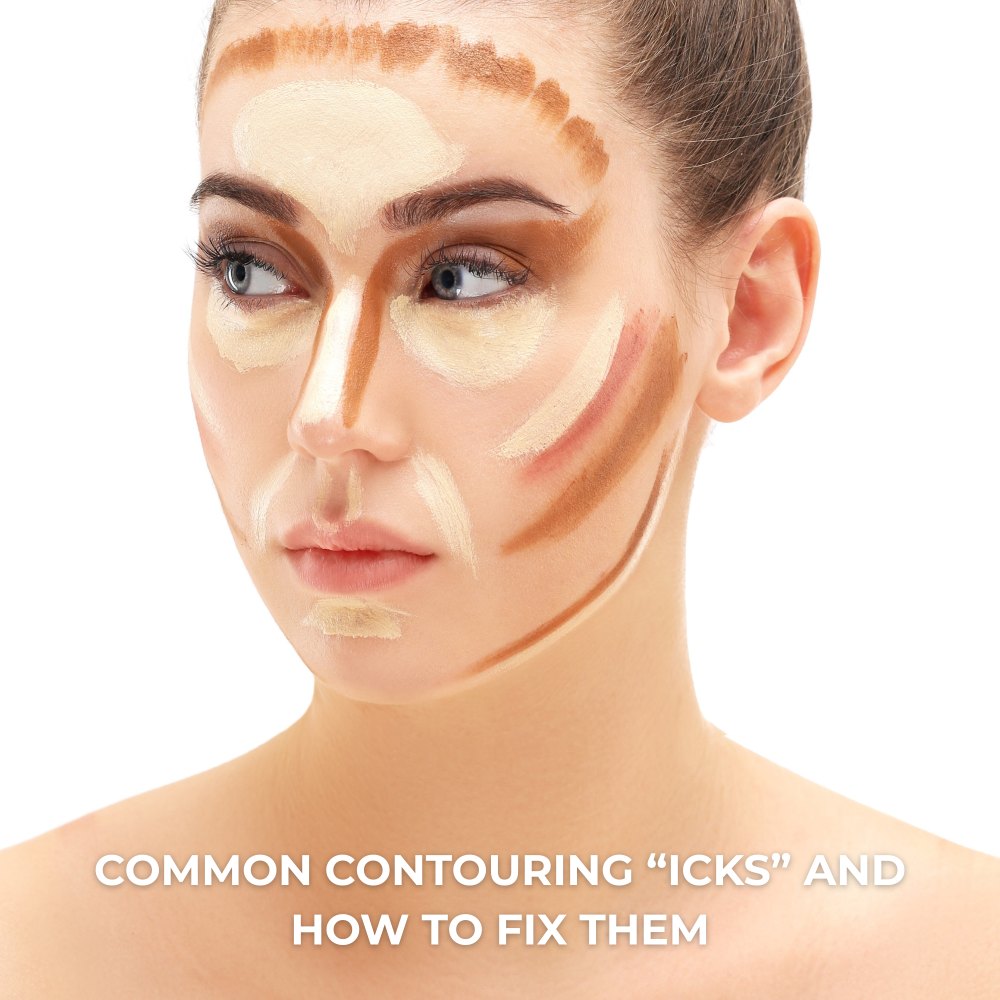
When in doubt? Step back from the mirror. If it looks good from arm’s length, you’re winning.
You’ve sculpted the structure, now let’s lift the energy. A soft highlight on the high points (tops of cheekbones, brow bone, bridge of nose) brings light back into the face.

Then lashes. Always lashes.
Pair your snatched contour with a lifted cat-eye or foxy-eye lash style to emphasise that upward shape. For a glam finish, try MODELROCK Lashes to enhance the sculpted effect.
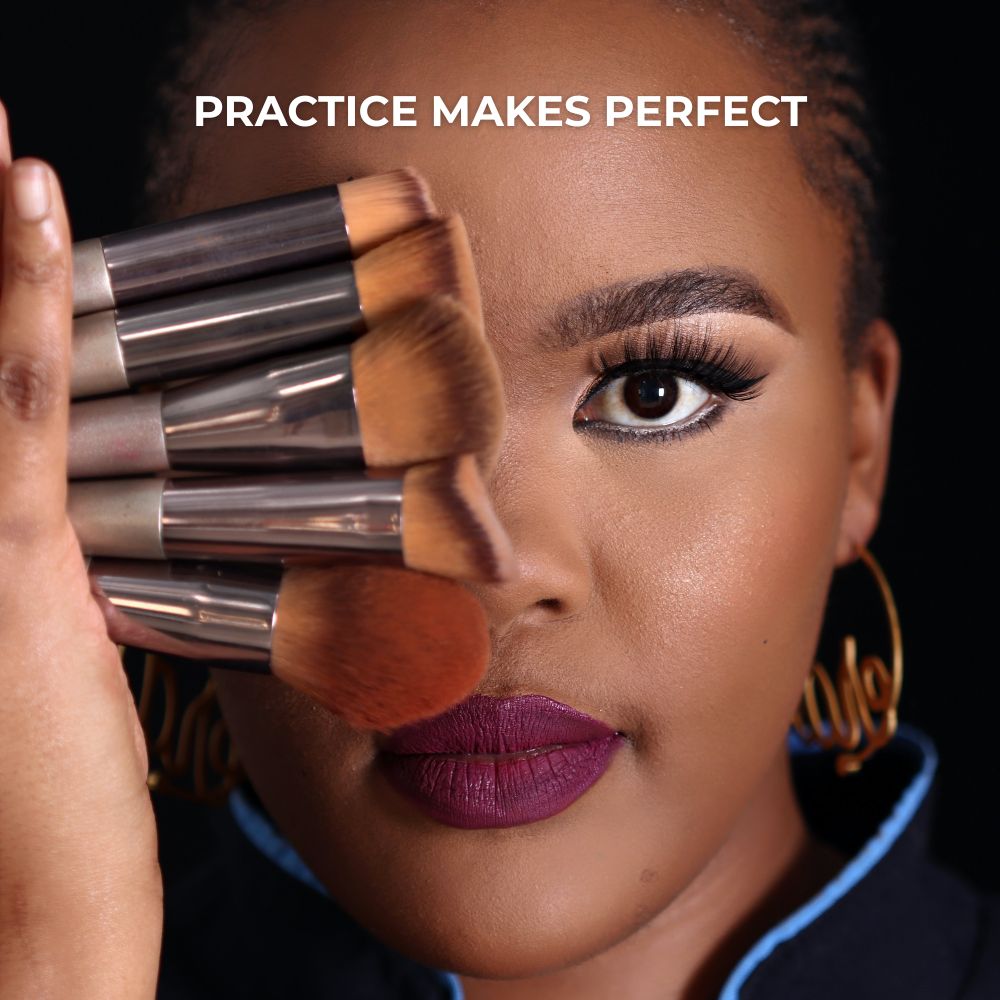
Here’s the truth: contouring isn’t a secret… it’s a skill. The more you practise, the more intuitive it becomes. Play with placement. Experiment with cream vs powder contour. Try underpainting. Adjust for your face shape.
Makeup should feel empowering, not intimidating.
Ready to get snatched?
Find out more about how to find the right contour, or shop our Contour Palettes & Brushes and pair your sculpted masterpiece with a set of MODELROCK Lashes for the ultimate glam finish.
Now grab your brushes and #GetYourModelRockOn!